Designer: Hooked by Boo
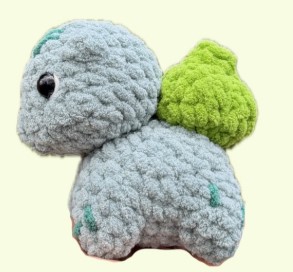
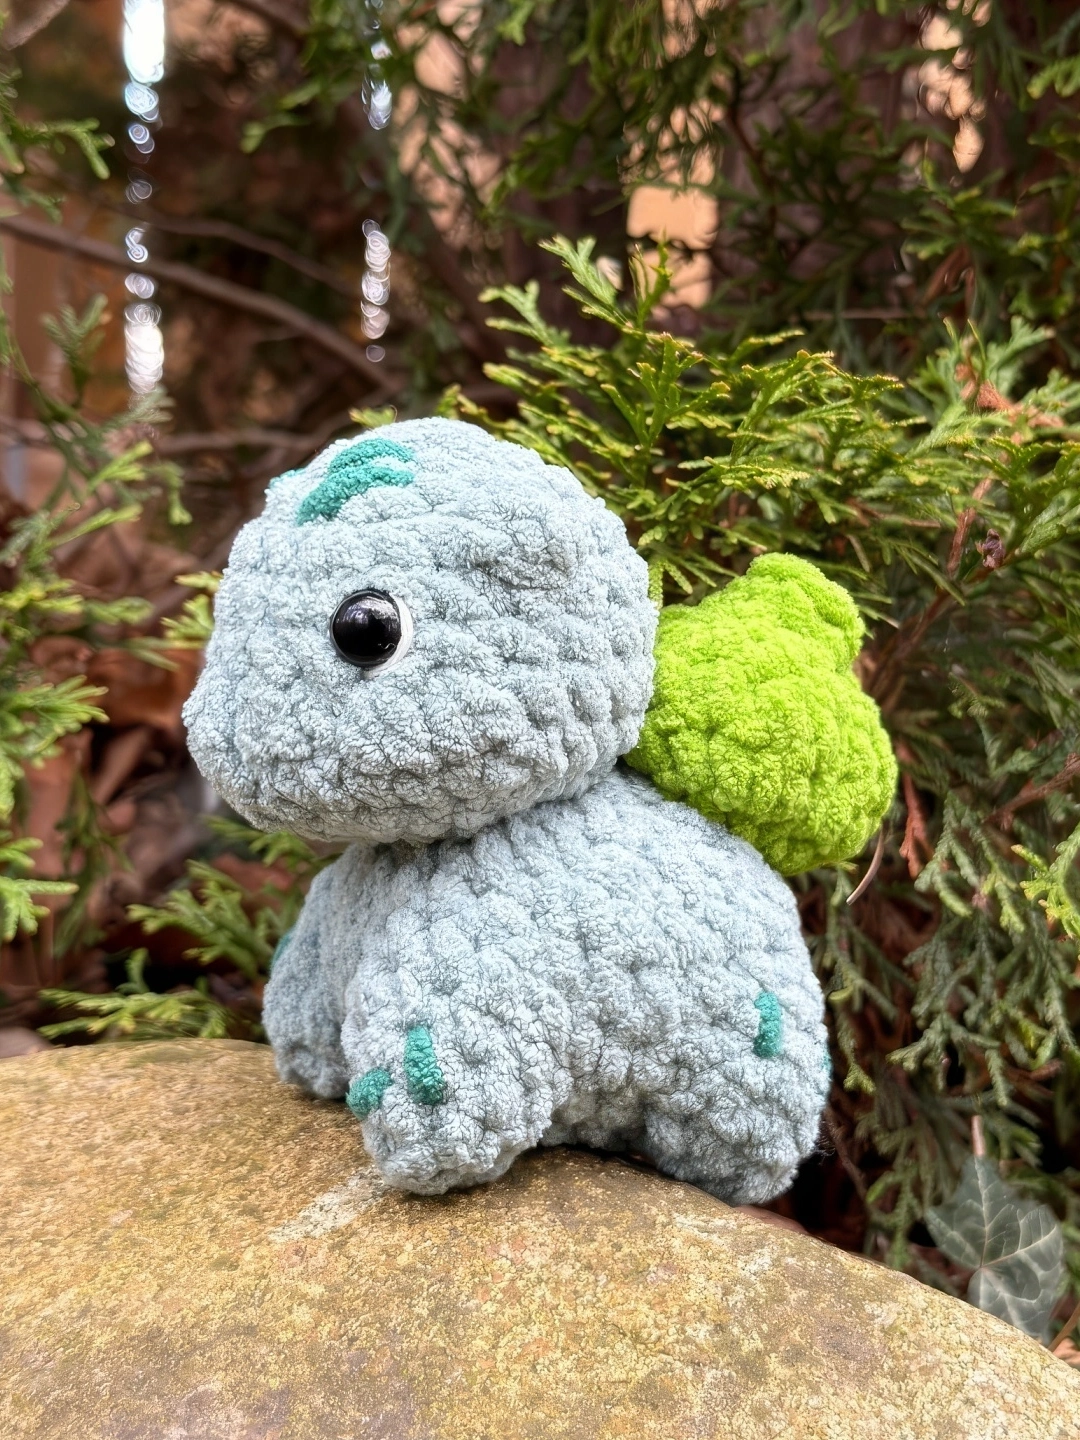
Start your exciting journey into the pokemon world with one of its most famous members, Bulbasaur! It has a chubby green body, a cute little face with its recognizable spots, short sturdy legs, and that iconic bright green bulb on its back.
To make this pokemon you will need yarn of your choice in green, bright green, and dark green, plus a suitable crochet hook, fiberfill, stitch markers, and a tapestry needle.
You will start with the face, legs, body, and belt, then the bulb, plus an optional step if you want to give the bulb some extra shape. After that, you just need to sew everything together.
The stitches used in this tutorial are simple and easy, like single crochet stitches and half double crochet, plus some crochet techniques like increasing, decreasing, and simple embroidery.
Grab your yarn and hatch your very own starter pokemon in one cozy evening!
Materials
- Yarn of your preference in colors:
- green, bright green, dark green
- Crochet hook
- Safety eyes
- Stuffing
- Stitch markers
- Tapestry needle
- Scissors
Abbreviations
Mr – magic ring
sc – single crochet
sl st – slip stitch
inc – increase
dec – decrease
BO – bobble stitch
hdc – half double crochet
dc – double crochet
hdc inc – half double increase
dc inc – double crochet increase
The pattern is worked continuous rounds.
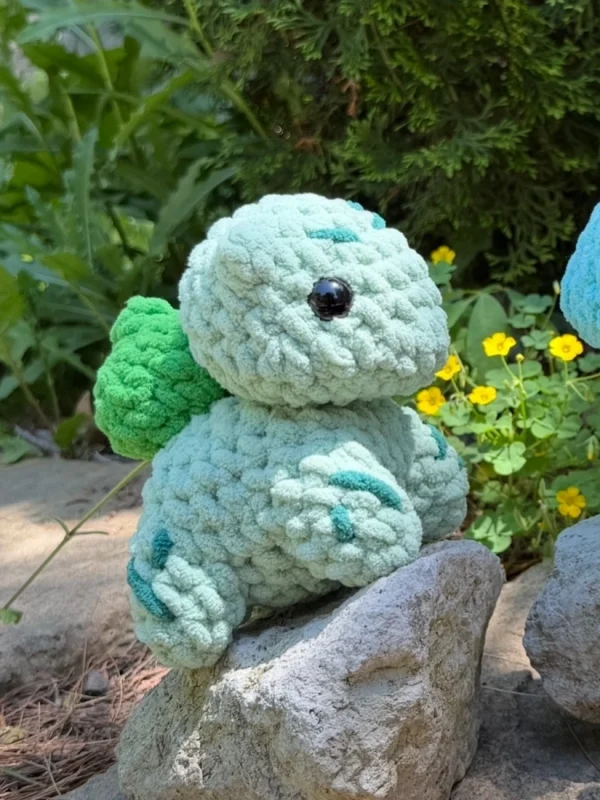
Face
Start with green yarn.
Rnd 1: 6 sc in a Mr (6)
Rnd 2: inc x 6 (12)
Rnd 3: (inc, sc) x 6 (18)
Rnd 4: sc, inc, 2 sc, BO, (2 sc, inc) x 2, 2 sc, BO, 4 sc (21)
Rnd 5-6: 21 sc around (21) (2 rounds)
Rnd 7: 7 sc, 2 hdc inc, 5 sc (28)
Rnd 8: (2 sc, dec) x 7 (21)
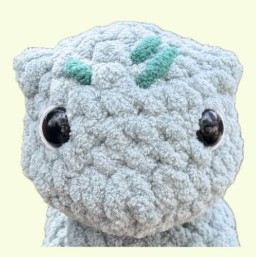
Place eyes between R5-6, 4 visible sts apart, aligned with dc inc in R7.
Start stuffing and continue stuffing as you go.
Rnd 9: 10 sc, sc (11)
Rnd 10: 5 dec, sc (5)
Fasten off and close the hole.
Face Marking
Start with dark green yarn.
Thread a long strand of yarn onto a sewing needle. Make three lines on the face above the eyes.
Legs x4
Start with green yarn.
Rnd 1: 4 sc in a Mr (4)
Rnd 2: inc x 4 (8)
Rnd 3: 8 sc around (8)
Fasten off.
Body & Belly
Start with green yarn.
Rnd 1: 8 sc in a Mr (8)
Rnd 2: inc x 8 (16)
We will crochet through both the belly and legs; these steps are marked in green.
Rnd 3: (2 sc, 2 sc) x 4 (16)
We will crochet around the remaining leg sts; these steps are marked in green. Don’t work into the leg sts from the previous row.
Rnd 4: (6 sc, 2 sc) x 4 (32)
Rnd 5: 32 sc around (32)
Begin stuffing, stuff lightly so the legs don’t angle outward.
Rnd 6: (2 sc, dec) x 8 (24)
Rnd 7: 24 sc around (24)
Rnd 8: (2 sc, dec) x 6 (18)
Rnd 9: (1 sc, dec) x 6 (12)
Rnd 10: dec x 6 (6)
Fasten off and close the hole.
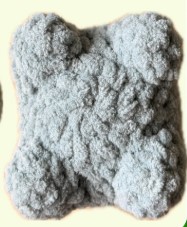
Bulb
Start with bright green yarn.
Rnd 1: 8 sc in a Mr (8)
Rnd 2: (sc, inc) x 8 (16)
Rnd 3: (sc, inc) x 8 (24)
Rnd 4: (sc, dec) x 8 (16)
Start stuffing and continue stuffing as you go.
Rnd 5: (sc, dec) x 5, sc (11)
Rnd 6: 5 dec, sc (6)
Rnd 7: (sc, dec) x 2 (4)
Fasten off and close the hole.
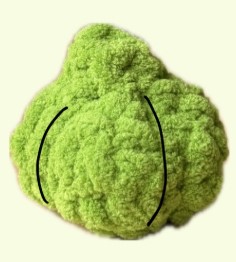
Bulb Shaping (Optional)
Thread a long strand of the same or thinner yarn onto a sewing needle.
Insert the needle through the bottom center of the bulb and bring it up near the top, between two stitches. Pull the yarn around the outside to create a defined divot. Repeat 3 more times to divide the bulb into four sections.
Assembly
- Face: sew the face on R8-R9 centered between the legs.
- Bulb: sew the bulb on top of the body R7-10.
- Body marking: in dark green yarn – thread a long strand of yarn onto a sewing needle. Make two lines on each leg.