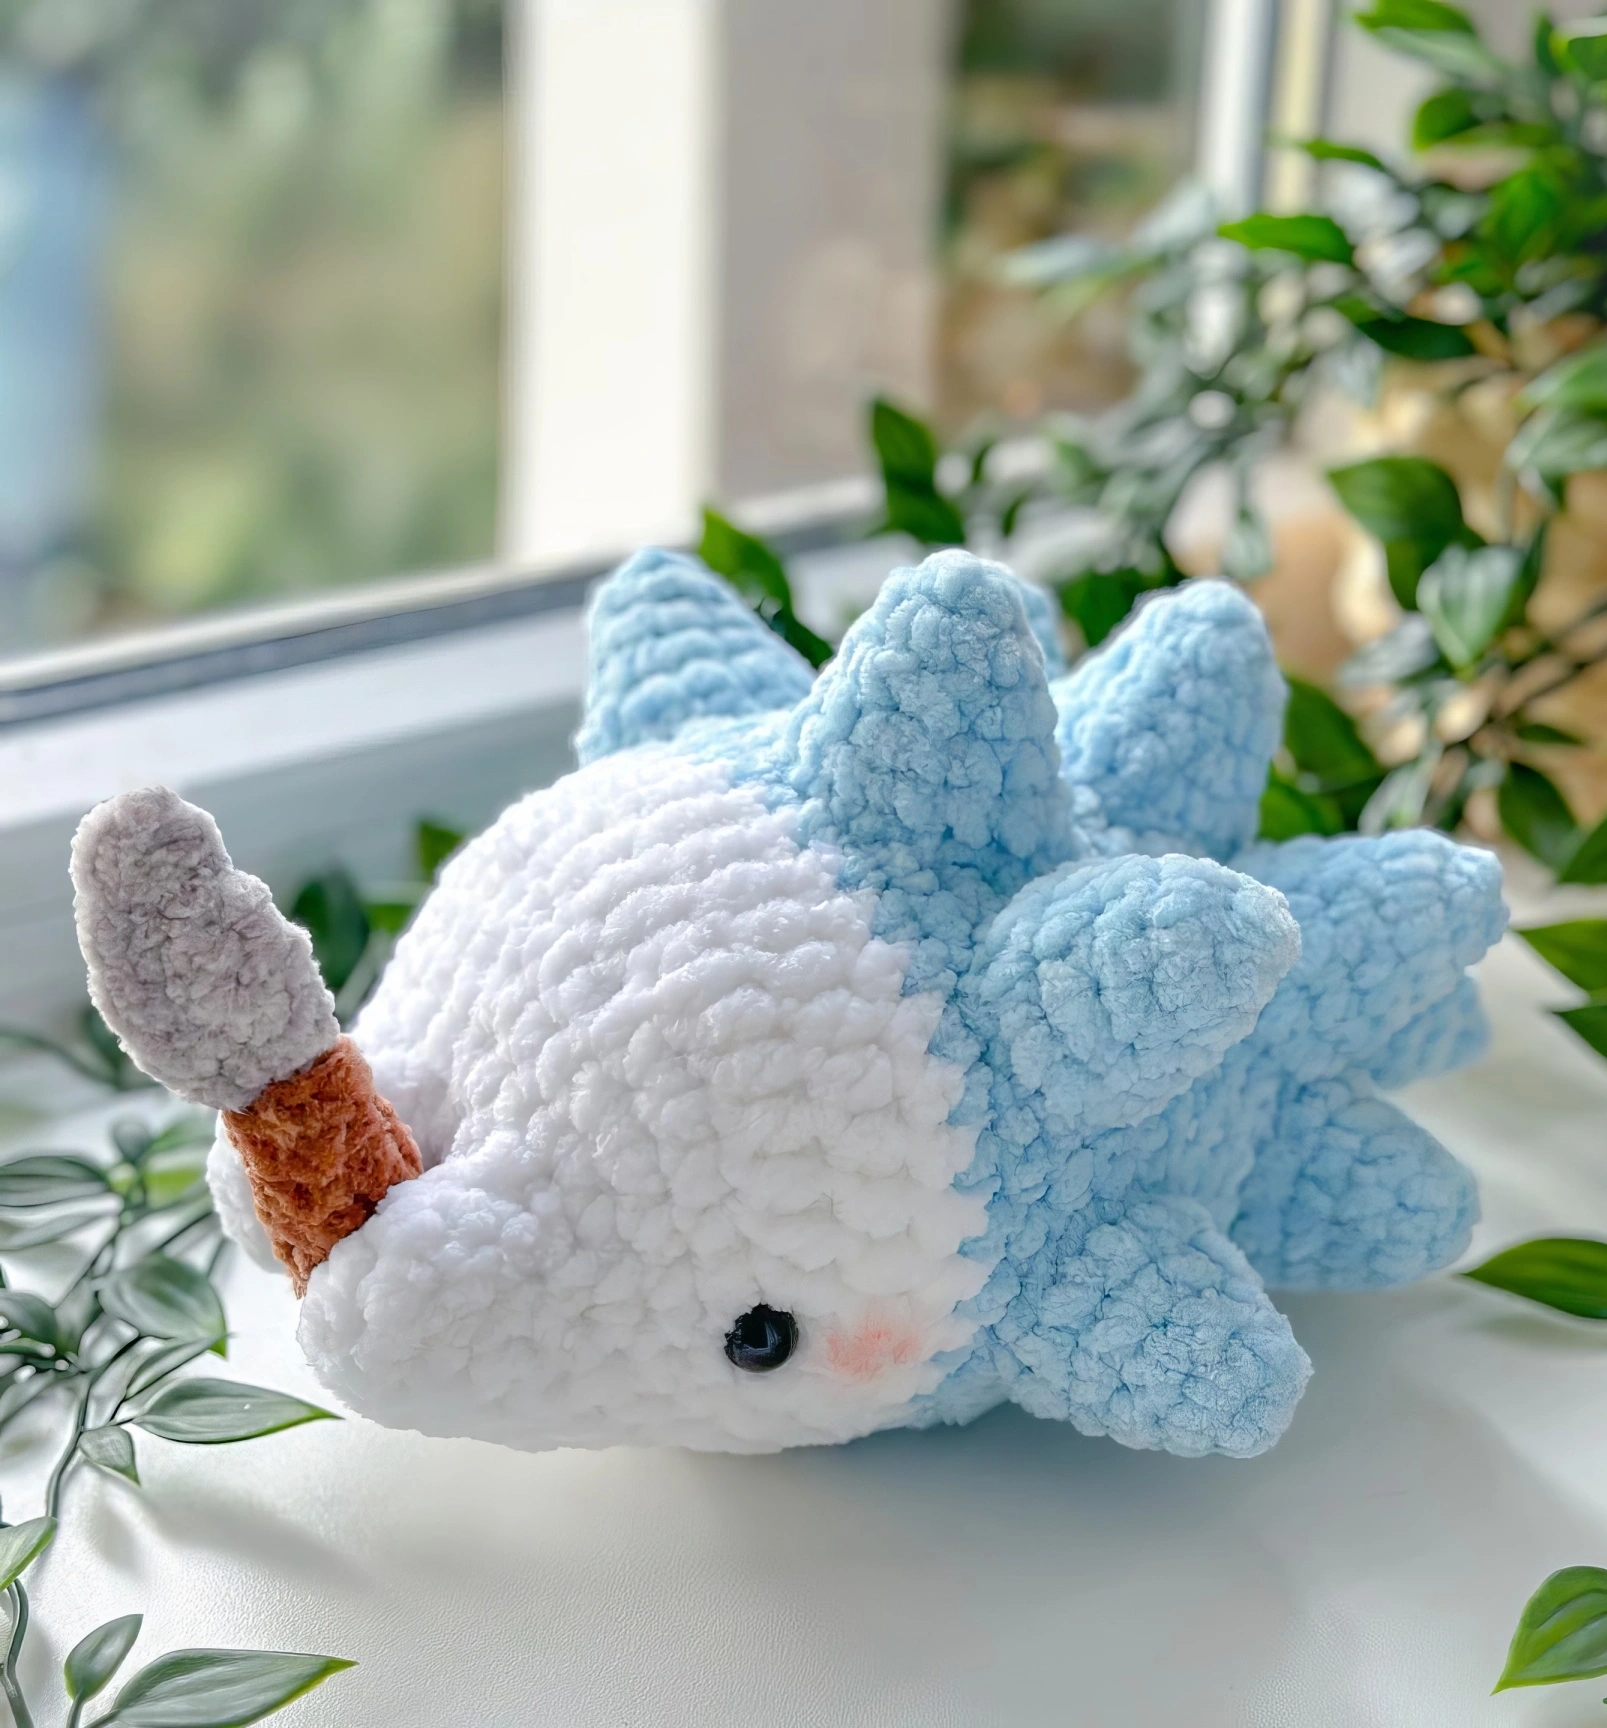
Designer: By.Geekie
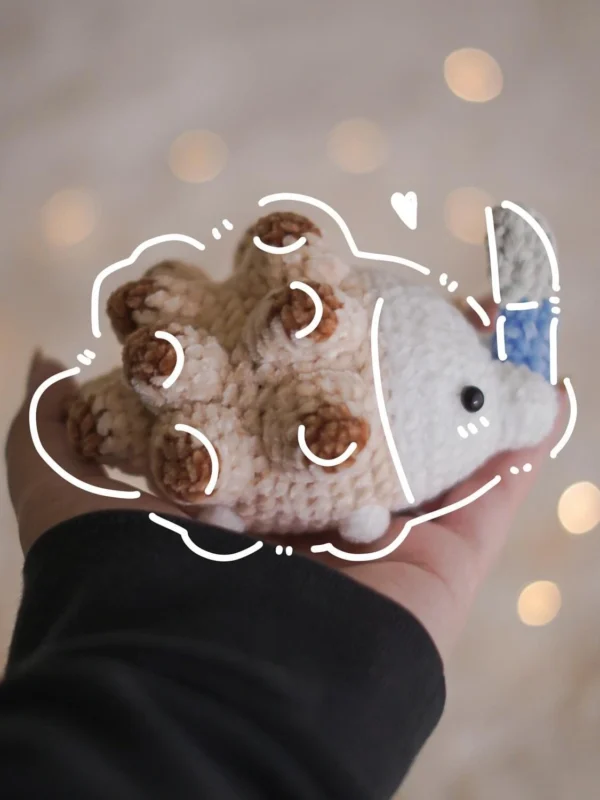
Bring a little winter magic to your shelf with this adorable Snom amigurumi, inspired by the beloved Pokemon character! With its soft white body, icy blue spikes, and sweet sleepy face, this cuddly ice worm is perfect for snuggles or seasonal decor.
To make it you will need a 5 mm crochet hook, white and cream, and also blue or pink yarn on your choice, some stuffing, 10 mm safety eyes, a stitch marker and that’s all in general.
The stitches used in this tutorial are simple and easy, like single crochet stitches, half double crochet, and also bobble stitch (optional). You will start with the head and the face of the pokemon, then you make 12 spikes, optionally a knife, and then you just need to put everything together.
This is super cute to make as a gift for pokemon lovers, or as a toy, or just for yourself. Well then, let’s get started!
Materials
- 5.00 mm crochet hook
- White/Cream Yarn (Bunny/Baby snuggle yarn from Hobbi)
- Blue/Pink yarn
- Needle and pins
- 10 mm safety eyes
- Stuffing
- Scissors
- Stitch marker
Abbreviations
Mr – magic ring
sc – single crochet
inc – increase
sl st – slip stitch
dec – decrease
bbl – bobble stitch (6 loops)
BLO – back loops
hdc – half double crochet
Pattern worked in continuous rounds.
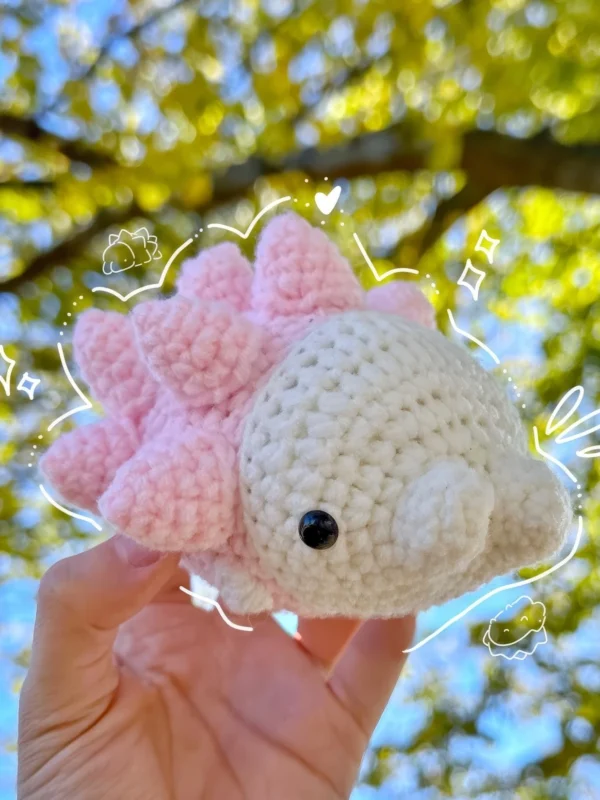
Snout & Body
Starting in white/cream.
Rnd 1: 5 sc in Mr (5)
Rnd 2: inc around (10)
Rnd 3-4: sc around (10)
Fasten off and leave a tail to sew the gap between the snout later on. Repeat R1-R4 but do not fasten off this time.
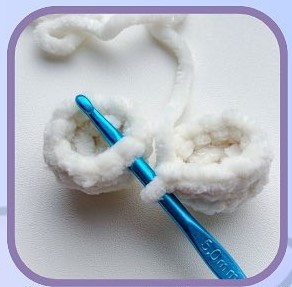
Connect the two parts of the snout together with a sc, this counts as your first st of R5.
Rnd 5: continue 9 sc on one side of the snout and 10 sc on the other side (20)
Rnd 6: 5 sc, (sc, inc) x 5, 5 sc (25)
Rnd 7: 5 sc, (sc, inc, sc) x 5, 5 sc (30)
Rnd 8: 5 sc, (3 sc, inc) x 5, 5 sc (35)
Rnd 9: 5 sc, 25 hdc, 5 sc (35)
Rnd 10: 7 sc, 21 hdc, 7 sc (35)
Rnd 11: sc around (35)
Sew the gap between the snout if needed.
Change color to blue/pink.
We will be alternating between colors in this part. White/Cream and Blue/Pink.
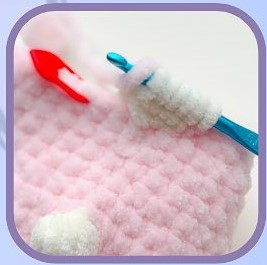
(You can skip the bbl’s if you don’t want the tiny feet.
Rnd 12: BLO: sc around (35)
Start stuffing and insert the eyes between R8-R9, 18 stitches apart
Rnd 13: (4 sc, inc) x 7 (42)
Rnd 14: 5 sc, bbl, 32 sc, bbl, 3 sc (42)
Rnd 15-16: sc around (42)
Rnd 17: (dec, 4 sc) x 7 (35)
Rnd 18-20: sc around (35)
Rnd 21: 5 sc, bbl, (3 sc, dec) x 5, 2 sc, bbl, sc (30)
Rnd 22-23: sc around (30)
Rnd 24: 7 sc, (2 sc, dec) x 5, 3 sc (25)
Rnd 25: 7 sc, (sc, dec) x 5, 3 sc (20)
Rnd 26: 6 sc, 7 dec (13)
Finish stuffing.
Rnd 27: 3 dec, sc, 3 dec (7)
Close the hole and weave in the ends.
Spikes x12
Starting with blue/pink.
Rnd 1: 5 sc in Mr (4)
Rnd 2: inc around (8)
Rnd 3: sc around (8)
Rnd 4: (sc, inc) x 4 (12)
Rnd 5: (sc, inc, sc) x 4 (16)
Fasten off and leave a long tail to sew.
Knife
Handle in brown.
Rnd 1: 5 sc in Mr (4)
Rnd 2: (sc, inc) x 2 (6)
Rnd 3-7: sc around (6)
Fasten off and leave a long tail for sewing. Do not stuff.
Blade in grey.
Rnd 1: 6 sc in Mr (6)
Rnd 2: inc around (12)
Rnd 3: ch 1 and fold in half, like a taco and 6 sc around the edge.
Fasten off.
Assembly
- Sew the blade into the handle of the knife. No need to sew it between the snout, since it can stay there on its own.
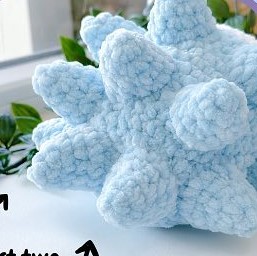
- Stuff and pin 5 spikes between R13-R17. Starting with the middle spike, sew it to the body, next sew the two outer spikes which are aligned with the eyes, and lastly sew the last two spikes. This way you will get an even spacing between the spikes.
- Stuff and pin 5 more spikes on R18-R22. Aligh them begind the other spikes and repeat the same sewing steps as the first row.
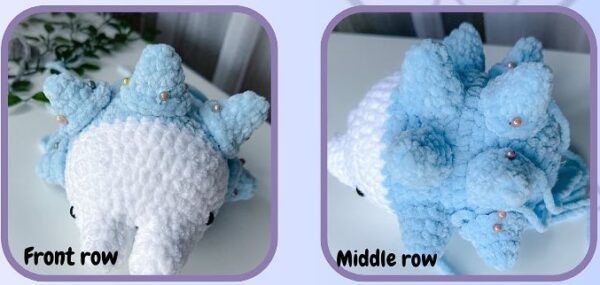
- Lastly, sew the last two spikes on the back aligned with the bottom spikes, between R22-R26.
- Add blush with soft pastels, make-up or yarn.
Done!

1 comment
eBArMDfHUtSaBGQTpNuFkPfK