Designer: Cable and Canvas
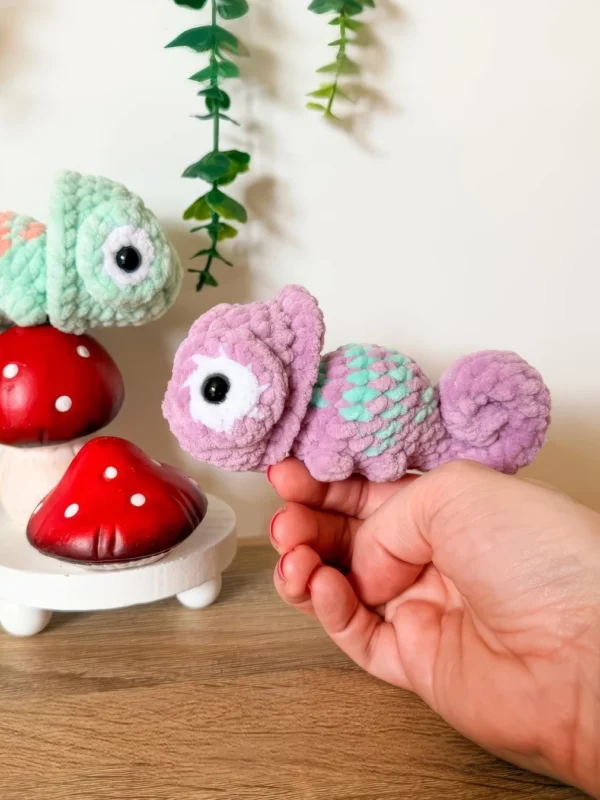
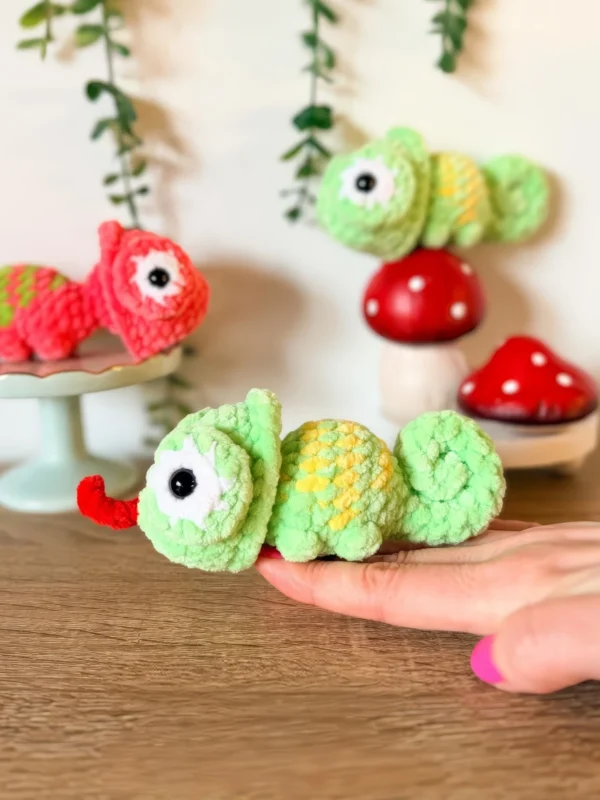
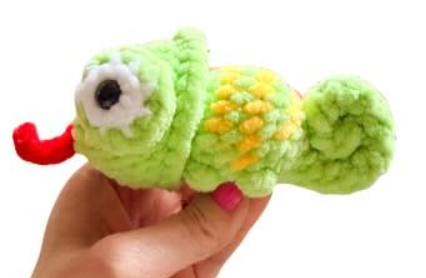
Add a splash of color to your accessories with this amigurumi chameleon crochet pattern! Whether you are crafting for reptile lovers, quirky gifts, or enjoy making fun amigurumi designs.
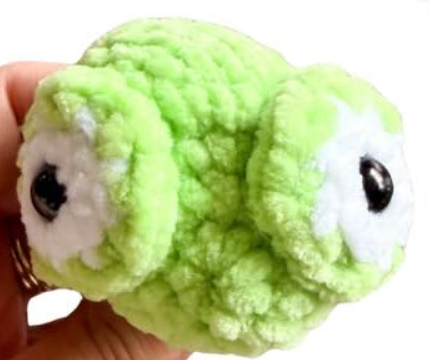
This adorable chameleon is so fun to crochet! It’s started by making eyes, head, body, and spiral tail in one piece, then adding a tongue at the end.
Materials needed are premier parfait chunky, a 4 mm crochet hook, 10 mm safety eyes, stuffing, scissors, a tapestry needle, and stitch markers.
You can customize this tutorial using different yarn weights with a suitable hook for the yarn, and you can also add a leaf or a bow to give a different look.
Materials
- 4 mm crochet hook
- Premier Parfait Chunky, super bulky size 6 yarn
- Yardage: 40 Yards Green (key lime)
- 8 yards yellow (sunshine)
- 6 yards white
- 20” red (poppy) (optional)
- 10 mm safety eyes
- Stitch markers
- Scissors
- Fiberfill
- Darning needle
Size:
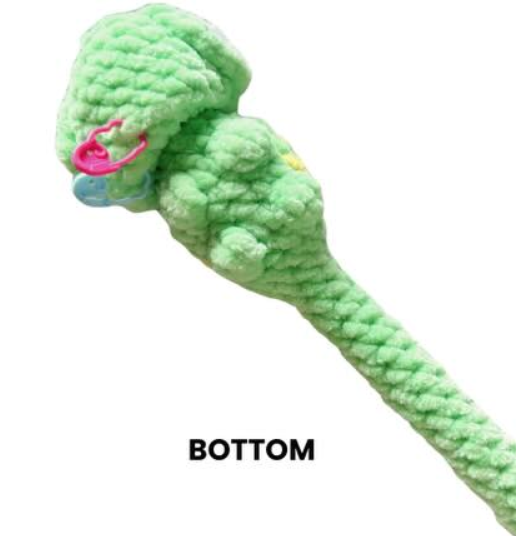
- Unpopped length: 5 inches
- Popped length: 6 inches
- Height: 2 1/2 inches
Abbreviations
BLO – back loops only
BO – 4 dc bobble stitch
ch – chain
dc – double crochet
dec – decrease
FLO – front loops only
inc – increase
Mr – magic ring
sc – single crochet
sl st – slip stitch
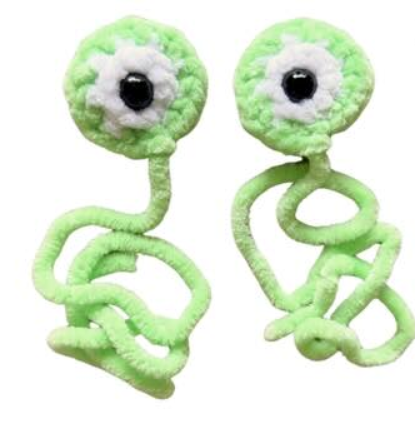
Eys x2
With white yarn.
Rnd 1: 8 sc in a Mr (8)
Color change to green in the last st and fasten off white.
Rnd 2: BLO: inc x 8 (16)
Sl st into the first st and fasten off, leaving a long, green end for sewing.
Tie remaining ends together and trim excess yarn (leaving the long, green and intract)
Set the eyes aside. We will sew them onto the head.
Head
With green yarn.
Rnd 1: 8 sc in a Mr (8)
Rnd 2: inc x 8 (16)
Rnd 3: 6 sc, inc x 4, 6 sc (20)
When increasing in R4, place stitch markers over the second and third increases to help with eye placement when sewing them on.
Rnd 4: 8 sc, inc x 4, 8 sc (24)
Rnd 5-7: sc around (24) (3 rounds)
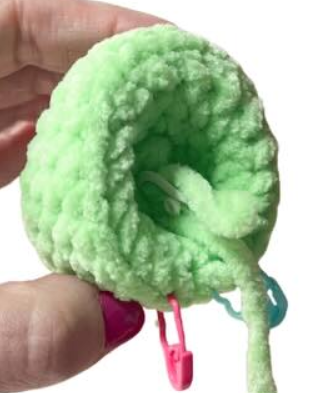
Place st markers in the first and last FLO sts of R7 to helo find them when adding the rim.
Do not stuff the head. Do not fasten off.
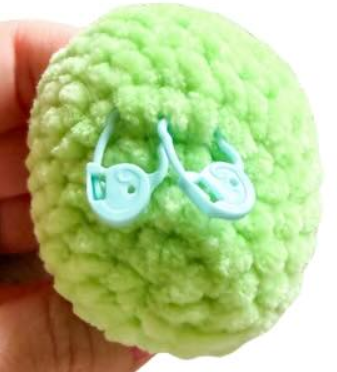
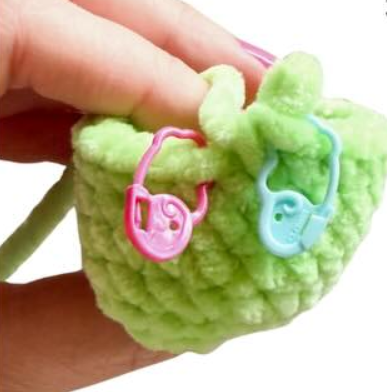
Attach the eyes
- Align the eyes on either side of the increases from R3 and R4, over R2-7 of the head. Use straight pins or bobby pins to hold your eyes into place.
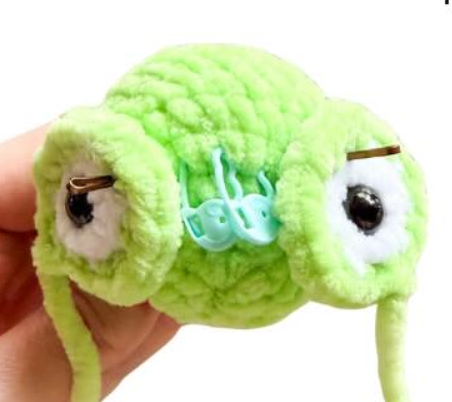
- With the long, green end on your darning needle, sew the eyes in place. Sew along the top of the eyes, as opposed to whip stitching, to leave a clear edge around them.
- When finished sewing each eye, tie the ends together inside of the head
- and trim off excess yarn.
Body
With green yarn.
Rnd 8: BLO: 7 sc, dec x 6, 5 sc (18)
Rnd 9: sc around (18)
Rnd 10: (1 sc, dec) x 6 (12)
Rnd 11: sc around (12)
Rnd 12: dec x 6 (6)
Do not stuff between R1-12.
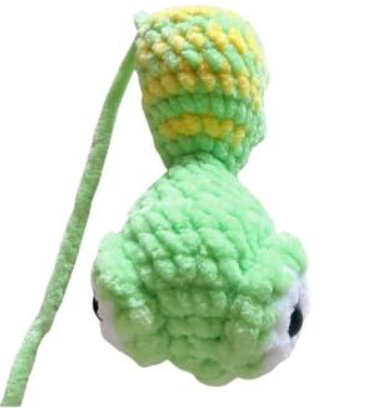
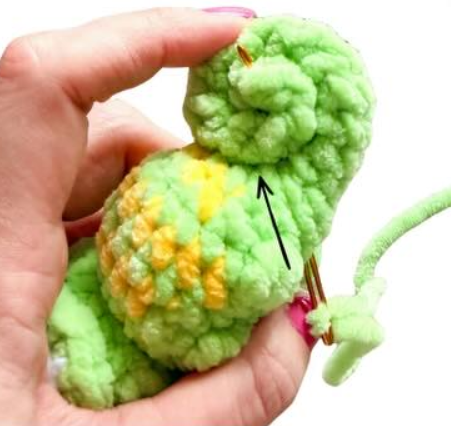
We will be adding yellow stripes to the body in R14, 16, 18 and 20. Those color changes will be written in bold yellow font.
The yellow stripes should line up with the increases from R3 and R4 of the head.
Rnd 13: FLO: inc x 6 (12)
Rnd 14: 6 sc, 1 sc, inc x 2, 1 sc, 2 sc (14)
Rnd 15: 7 sc, inc x 4, 3 sc (18)
We will use bobble stitches for the arms/legs in R16 and R19. Make sure they line up on the bottom of the body.
Rnd 16: 1 sc, BO, 2 sc, BO, 2 sc, 10 sc, 1 sc (18)
Rnd 17: sc around (18)
Do not fasten off.
Rnd 18: dec, 4 sc, 11 sc, inc (18)
Rnd 19: 1 sc, BO, 2 sc, BO, 13 sc (18)
Rnd 20: 7 sc, 1 sc, dec x 4, 1 sc, 1 sc (14)
Fasten off yellow.
Begin stuffing the body (R12-23) only.
Rnd 21: 8 sc, dec x 2, 2 sc (12)
Rnd 22: 6 sc, dec x 3 (9)
Rnd 23: dec, 3 sc, dec x 2 (6)
Finish stuffing the body. Do not stuff beyond this point. Continue making the tail in R24-40.
Rnd 24-40: sc around (6) (17 rounds)
Fasten off, leaving a long end for closing the hole.
With the long end and darning needle, whip stitch around the FLO sts of R40 and pull tight to close the hole. Weave in the end and trim off excess yarn. (We will use a separate strand to sew the tail into a spiral).
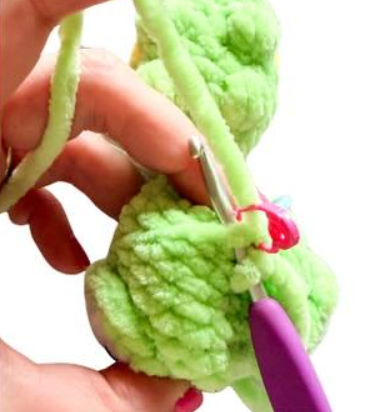
Continue sewing the tail spiral.
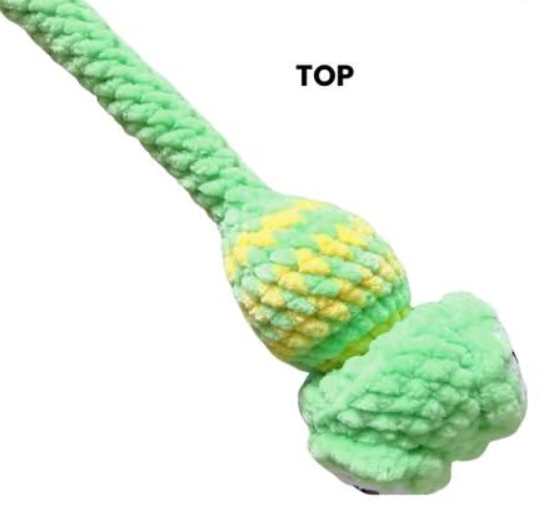
Tail Spiral
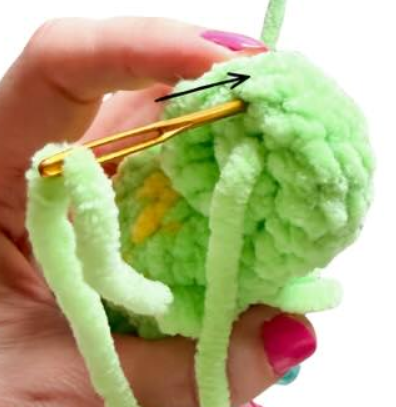
- Beginning with the tip of the tail, curl it into itself, making a spiral (Curl the tail on top, but you can opt to curl it below as well).
- Place a 10” strand of green yarn on a darning needle. Weave the yarn up through the bottom, then through all the layers of the spiral until you get to the outside layer.
- Weave the strand just underneath the outside layer of the tail
- and down the other side to the bottom where you started securing all layers firmly, whilst not being able to see the strand itself.
- Tie the two ends together and weave them into the body. Trim off excess yarn.

- Continue making the head rim (and optional tongue)
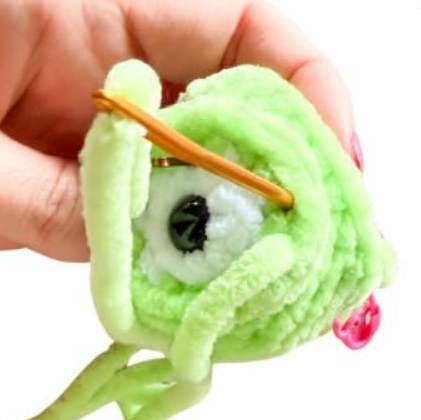
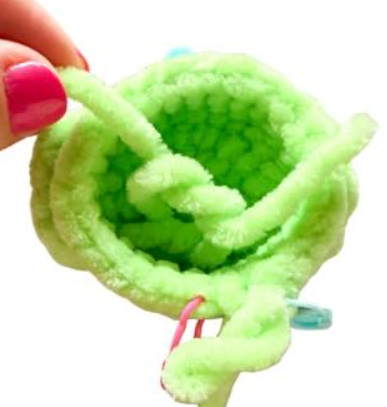
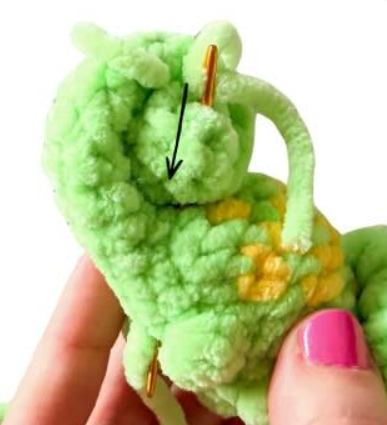
Head Rim
With green yarn.
With the front of the head facing towards you, begin in the first FLO st we marked after R7.
Make sure the 4 increases in R1 are on top of the head. You may need to adjust your placement based on personal tension/yarn.
Rnd 1: 11 sc, inc x 4, 9 sc (28)
Sl st to the first st of the round and fasten off. Weave the ends into the head and trim off excess yarn.
Tongue (optional)
With red yarn.
With the top of the chameleon facing you, begin working directly into the first round of the head.
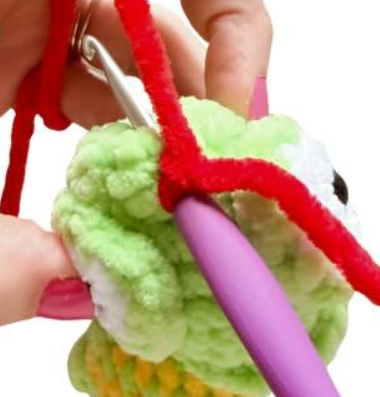
Rnd 1: sl st and ch 7. Starting in the third ch from the hook and working down the chain: 5 sl st (5)
Sl st back into the head and fasten off.
Weave the ends into the head and trim off the excess yarn.