Designer: Rikki Handmade
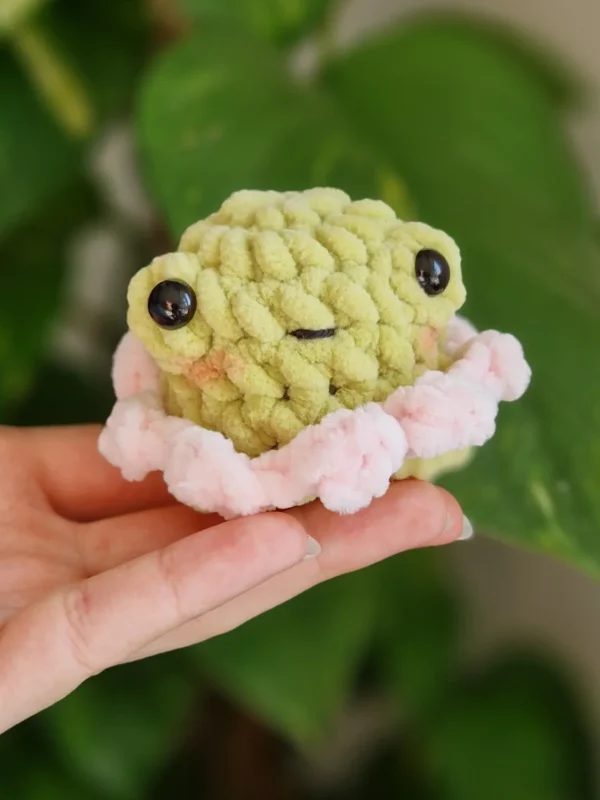
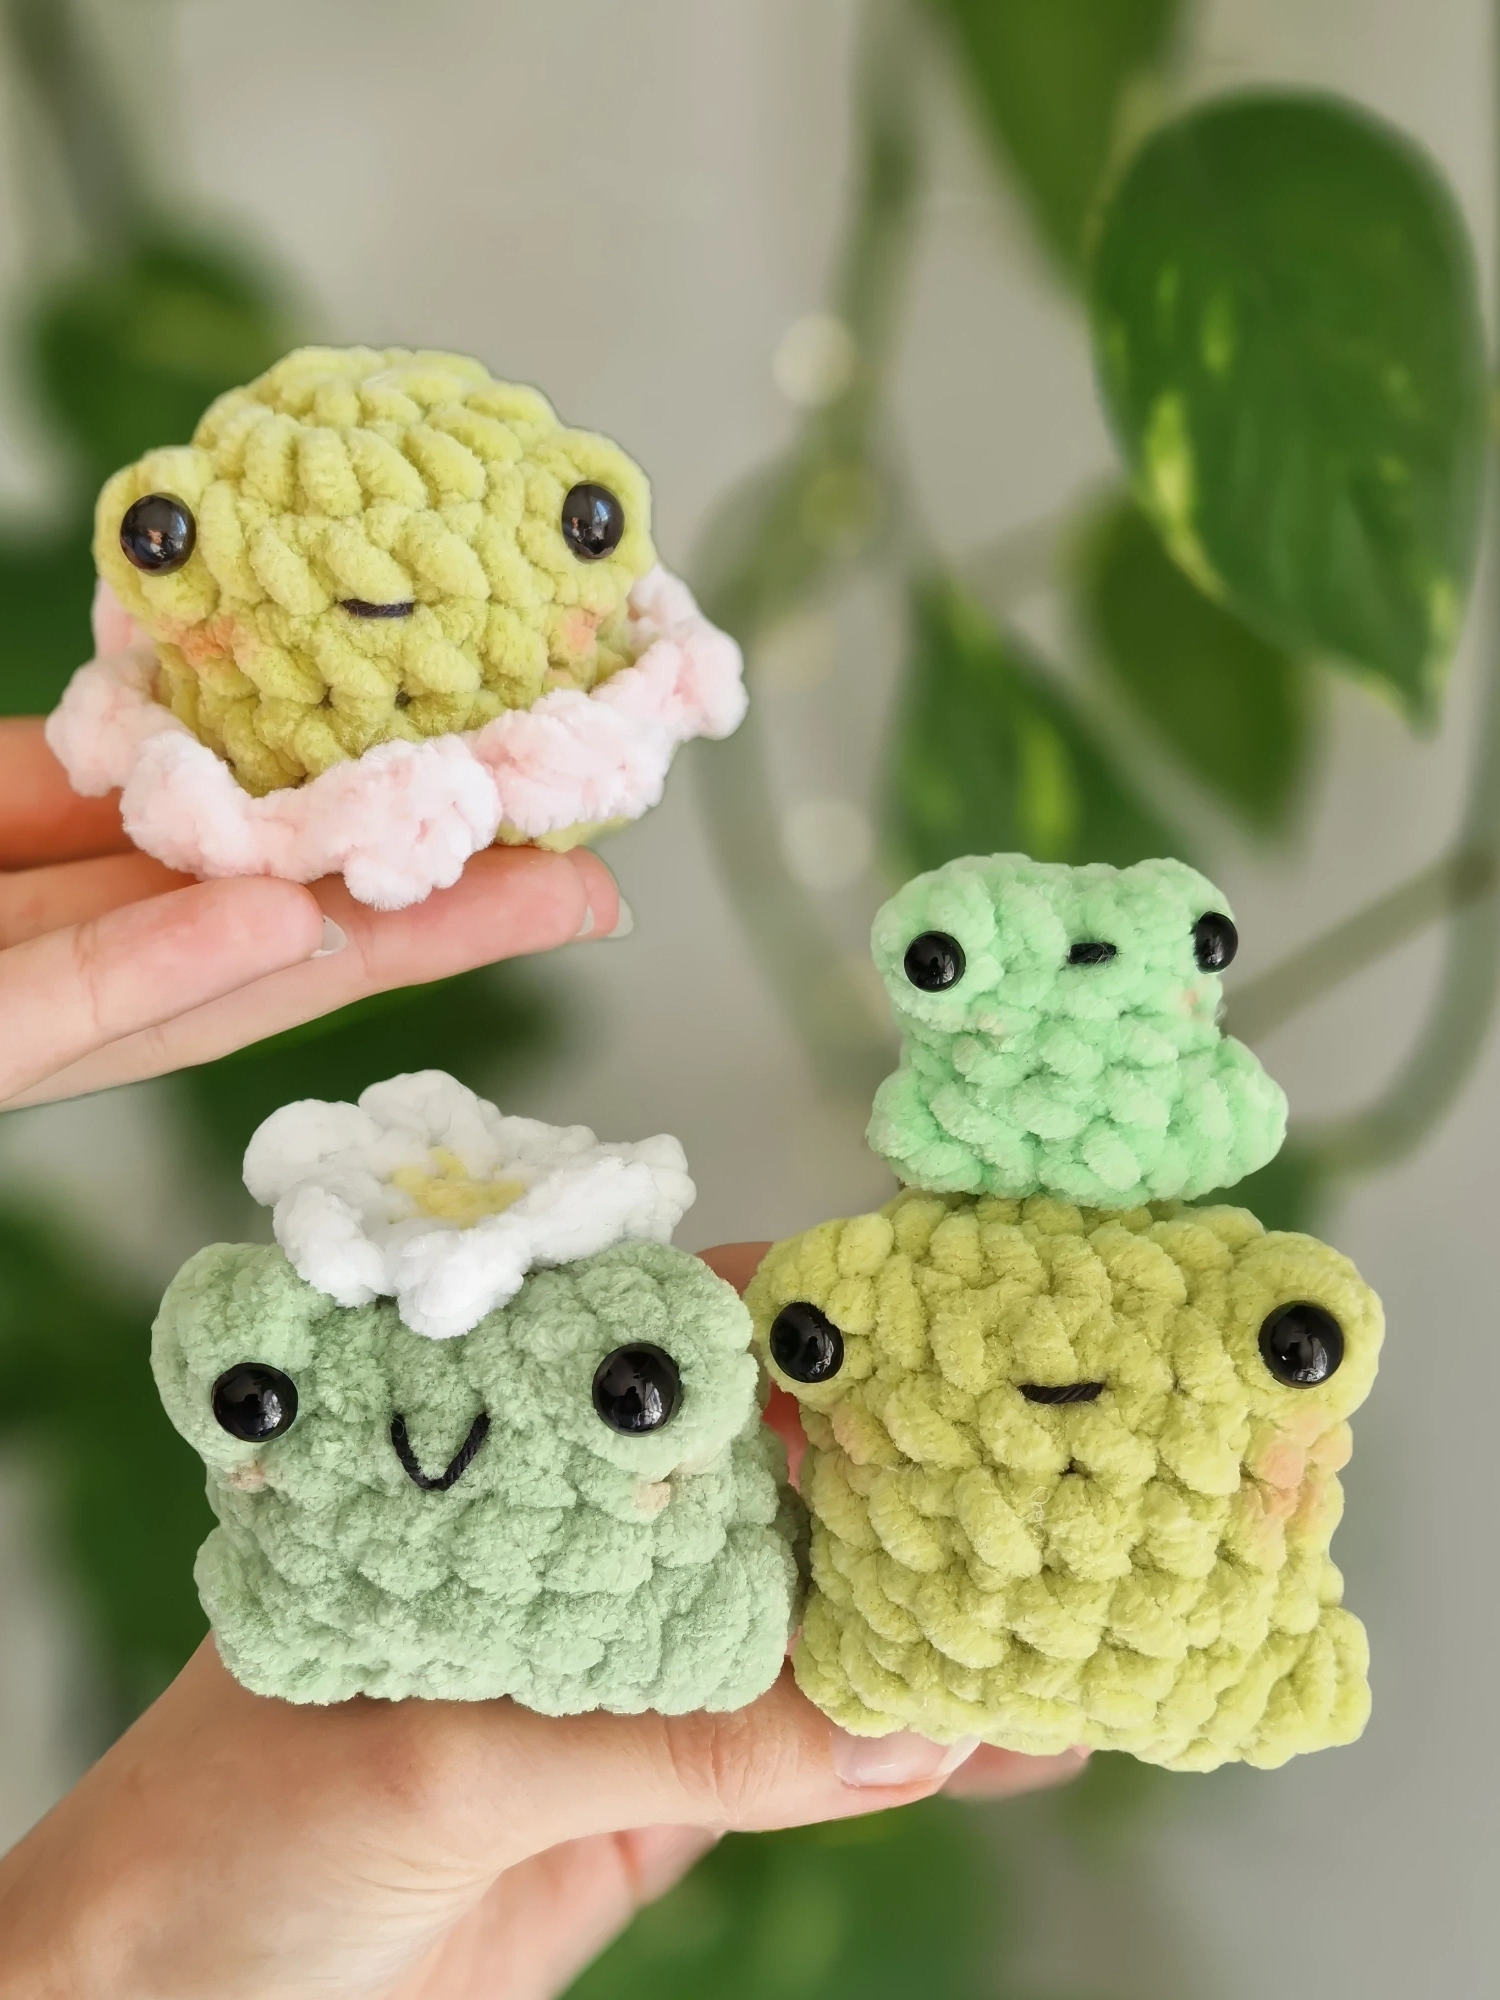
Hop into the world of amigurumi with this adorable crochet frog! Designed with a rounded body, chubby legs, and expressive eyes, this charming little frog combines simple shaping with delightful details to create a playful handmade character.
This free pattern starts by making froggy, petal froggy, baby froggy, flower, and it also has how to assemble all parts and how to embroider the mouth.
This tutorial is beginner-friendly, so all you need to know to finish this tutorial is to know how to make single crochet stitches, half double crochet stitches, double crochet stitches, bobble stitches, and some crochet techniques like increasing and decreasing.
You can use it as a cuddly companion, cute shelf or room decoration, part of an amigurumi animal collection.
Materials
- Chenille yarn (Light pink), YarnArt Dolce (Green), Alize Velluto (Green), Toucan Fine (Yellow and white), Frida’s 6te (Green), Friends Cotton 8/4 (Black)
- Thinner yarn for embroidery
- 4.00 mm and 3.5 mm crochet hook
- 5 mm and 8 mm safety eyes
- Stuffing
- Yarn needle
- Stitch marker
- Scissors
- Glue for gluing the eyes
Abbreviations
Mr – magic ring
sc – single crochet
dc – double crochet
hdc – half double crochet
ch – chain
sl st – slip stitch
dec – decrease
inc – increase
cc – color change
BO – bobble stitch
Pattern is worked in continuous rounds.
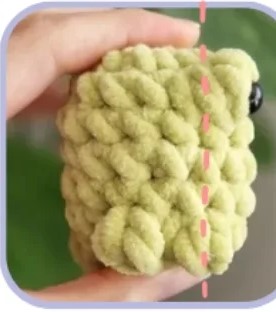
Froggy
Rnd 1: 8 sc in a Mr (8)
Rnd 2: 8 inc (16)
Rnd 3: 6 sc, BO (4), 5 sc, BO (4), 3 sc (16)
Rnd 4-6: sc around (16) (3 rounds)
Rnd 7: 4 sc, BO (3), sc, BO (3), 6 sc, BO (3), sc, BO (3) (16)
Rnd 8: 8 dec (8)
Glue the eyes onto the top BO.
If you don’t want to glue them on, place them between R3 and R4, right under the BO
Stuff.
Fasten off and close the hole and hide tail.
You may have to adjust the BO for the legs due to tension or yarn type. Just be sure the front BO/the front leg is right behind the eye.
Petal Froggy
Follow the “Froggy” pattern until you come to the end of R5.
CC to petal color.
Rnd 6: FLO: 2 ch, dc in 2nd ch from hook, sl st into the next st.
sc in the next st (repeat this sequence until the end of the round, you should have about 8 petals) end the round with a sl st into the first sttich you made.
CC back to body color.
BLO: sc around (16)
Finish the frog by following the “Froggy” pattern, you’re now at R7.
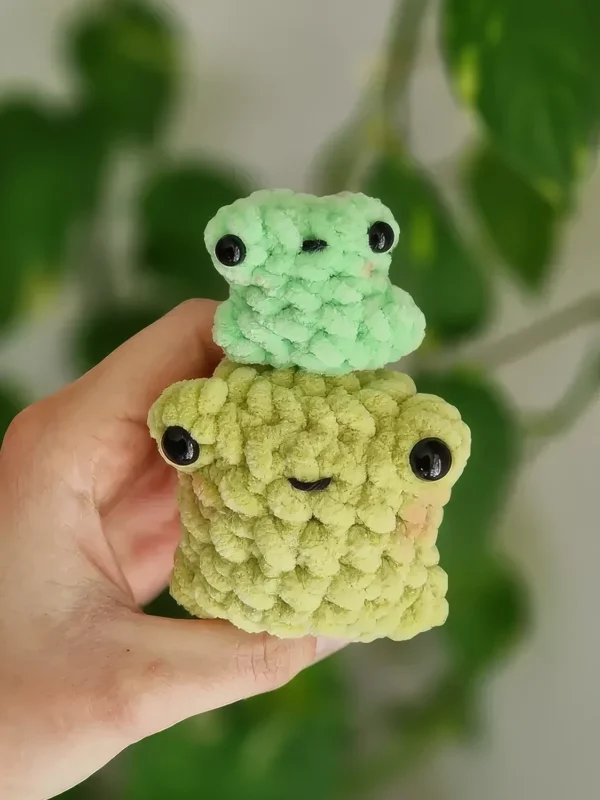
Baby Froggy
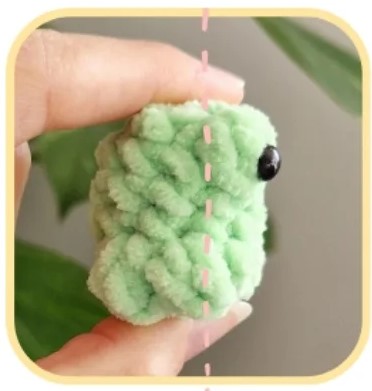
Rnd 1: 5 sc in a Mr (5)
Rnd 2: 5 inc (10)
Rnd 3: 2 sc, BO (4), 2 sc, BO (4), 4 sc (10)
Rnd 4-5: sc around (10) (2 rounds)
Rnd 6: sc, BO (3), BO (3), 4 sc, BO (3), BO (3), sc (10)
Rnd 7: 5 dec (5)
Glue eyes onto the top BO.
If you don’t want to glue them on, place them between R2 and R3, right under the BO.
Stuff. If you want to use the frog as a hat, leave a long tail for sewing.
Fasten off, close the hole.
You may have to adjust the BO for the legs due to tension or yarn type. Just be sure the front BO/the front leg is right behind the eye.
Flower
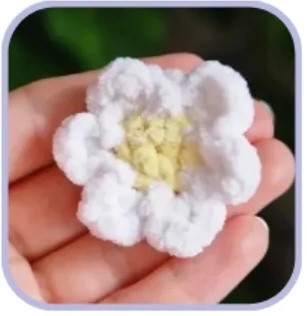
Starting in yellow.
Rnd 1: 6 s in Mr, cc in the last st to white, sl st to close the Mr
Rnd 2: 2 ch, 2 dc into 2nd ch from hook, sl st into the next st, repeat 5x for a total of 6 petals, make a sl st into the first st you made.
Fasten off, weave in ends, leave a long tail for sewing.
Assembly
Froggies:
- Embroider a mouth between the eyes of the frog for example a “V” shape or a little smile.
- Add blush if you like.
Flower:
- Sew the flower onto the head of the froggy.
Baby Froggy:
- Sew the baby froggy onto the head of the froggy.