Designer: Willow & Wild
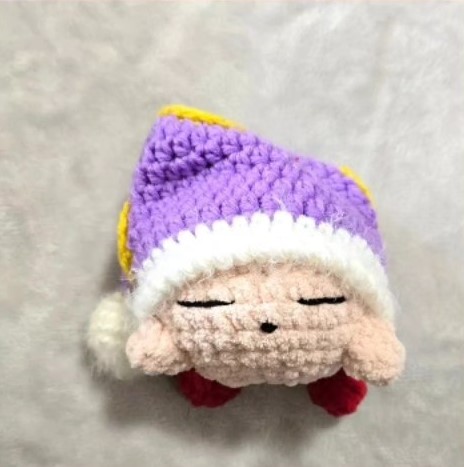
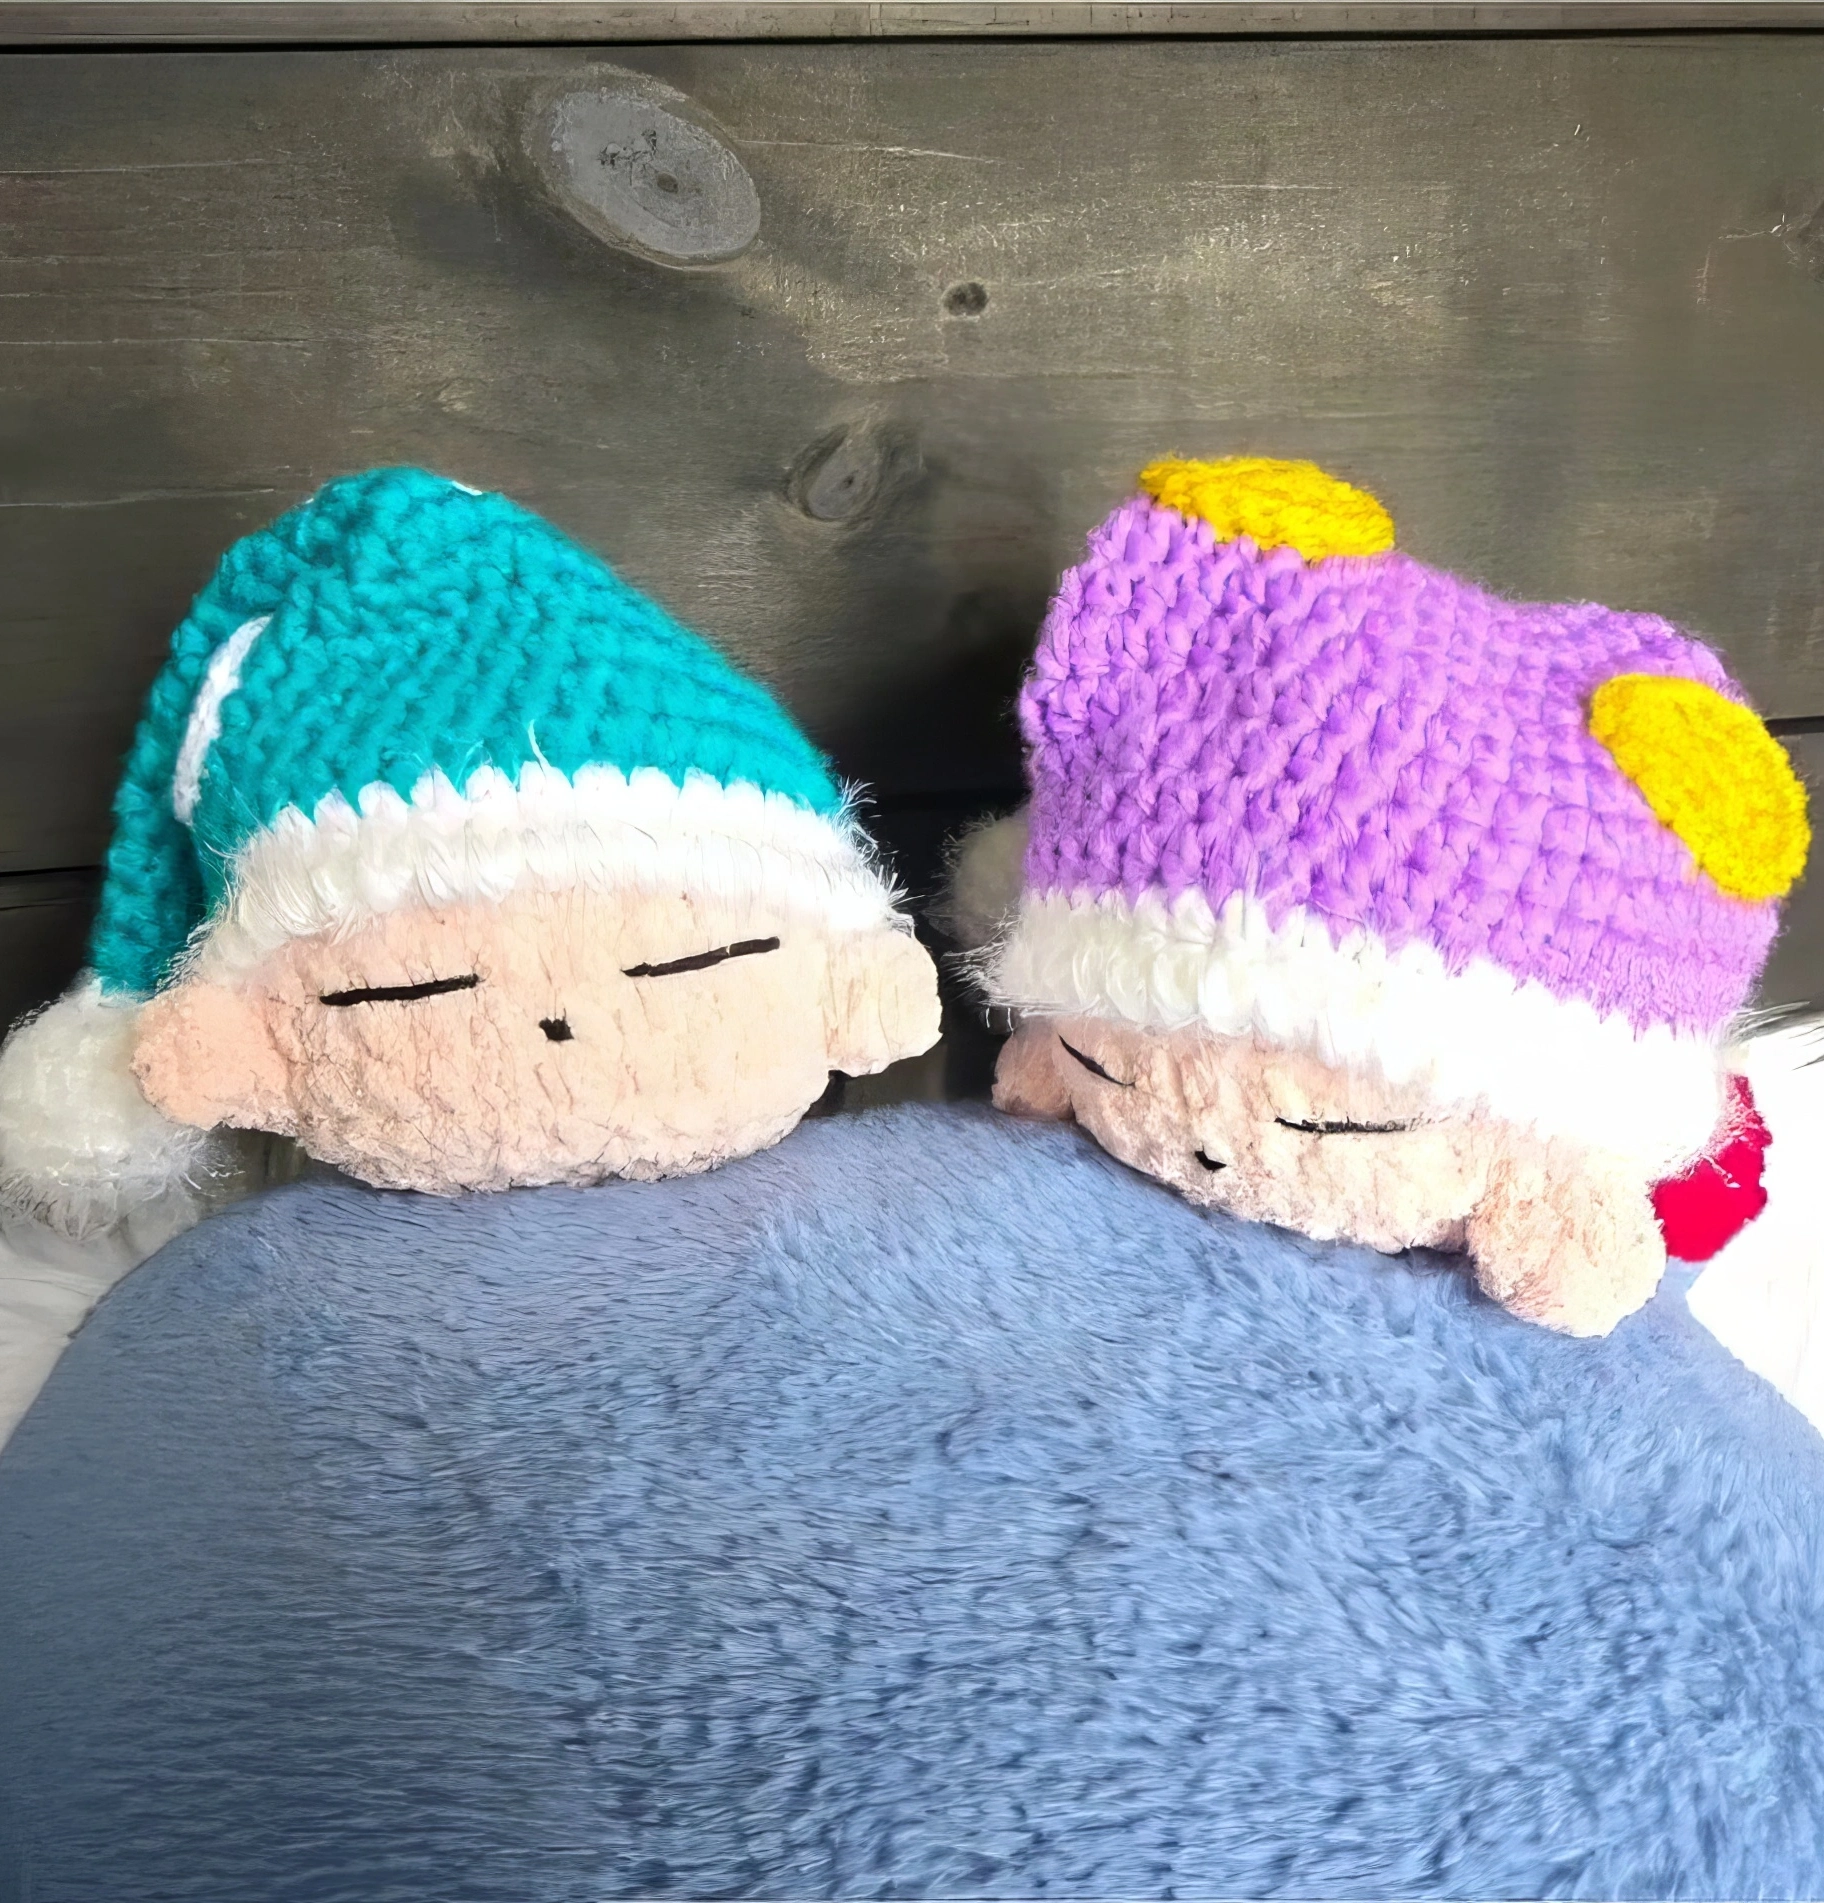
After a long day of adventures and eating everything in sight, this little pink hero is finally ready for bed, wearing a cozy nightcap with a fluffy white brim, a pom-pom on the end
Kirby is crocheted with pink, purple and red yarn. The nightcap can be done in any color you like. Other supplies you will need: an 8 mm crochet hook, 20 mm safety eyes, a tapestry needle, some stuffing and scissors.
Mostly you will need basic stitches, like single crochet, increases and decreases techniques, and a little bit of hdc for the hat. The shapes are simple, so even a beginner can make it easily.
The pattern starts with Kirby’s body, then you will need to embroider the face, crochet the arms, the hat, a few dots for the hat and a pompom. At the end you just sew the hat to the body of the toy.
This toy will be the best gift for fans of any age, or a great addition to your gaming collection.
Materials
- Yarn Weight 6 and 4
- 8 mm crochet hook
- 20 mm safety eyes
- Tapestry needle
- Stuffing
- Scissors
- Marble (optional)
Abbreviations
sc – single crochet
inc – increase
dec – decrease
hdc – half double crochet
hdc inc – half double crochet increase
sl st – slip stitch
ch – chain
Body
Start with pink yarn.
Rnd 1: 6 sc in a Mr (6)
Rnd 2: inc x 6 (12)
Rnd 3: (1 sc, inc) x 6 (18)
Rnd 4: (2 sc, inc) x 6 (24)
Rnd 5: 1 sc, inc, (3 sc, inc) x 5, 2 sc (30)
Rnd 6-10: sc around (30) (5 rounds)
Rnd 11: 1 sc, dec, (3 sc, dec) x 5, 2 sc (24)
Rnd 12: (2 sc, dec) x 6 (18)
Rnd 13: (1 sc, dec) x 6 (12)
Begin stuffing as you go.
Rnd 14: dec x 6 (6)
Fasten off and sew hole.
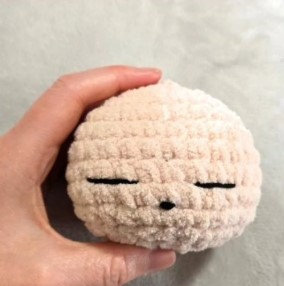
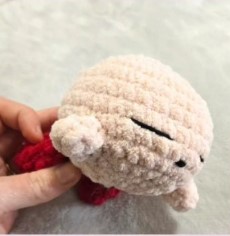
Embroider Face
Start with black yarn (weight 4)
Using a needle, embroider the eyes first between rounds 8 and 9. Then each span across 3 stitches and are 2 stitches apart.
Embroider the nose over one strand of yarn in a stitch directly below the centre of the eyes (rnd 9).
Legs x2
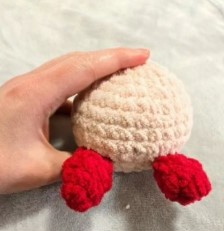
Start with red yarn (weight 6)
Rnd 1: 6 sc in a Mr (6)
Rnd 2: (2 sc, inc) x 2 (8)
Rnd 3: sc round (8)
Rnd 4: dec x 4 (4)
Fasten off with a long tail for sewing onto the body. Sew legs between rounds 10 and 11 with 3 or 4 stitches in between. Ensure that they are centered to the face on the other side..
Arms x2
Start with pink yarn (weight 6).
Rnd 1: 5 sc in a Mr (5)
Rnd 2: 4 sc, inc (6)
Sl st and fasten off with a long tail for sewing onto the body. Sew armd one stitch beside the eyes, on either side.
Hat
Start with purple yarn (weight 4 with 5 mm hook)
Rnd 1: hdc 6 in a Mr (6)
Rnd 2: (1 hdc, hdc inc) x 3 (9)
Rnd 3: hdc around (9)
Rnd 4: (2 hdc, hdc inc) x 3 (12)
Rnd 5: hdc around (12)
Rnd 6: (3 hdc, hdc inc) x 3 (15)
Rnd 7: hdc around (15)
Rnd 8: (4 hdc, hdc inc) x 3 (18)
Rnd 9: hdc around (18)
Rnd 10: (8 hdc, hdc inc) x 2 (20)
Rnd 11: (4 hdc, hdc inc) x 4 (24)
Rnd 12: hdc around (24)
Rnd 13: (3 hdc, hdc inc) x 6 (30)
Rnd 14: hdc around (30)
Rnd 15: (4 hdc, hdc inc) x 6 (36)
Rnd 16: hdc around (36)
Rnd 17: (5 hdc, hdc inc) x 6 (42)
Rnd 18-20: hdc around (42)
Rnd 21: 41 hdc, 1 sc (42)
Invisible color change to white.
Rnd 22: sl st, 41 hdc (42)
Rnd 23: twisted sc around (42)
Fasten off with a ling tail for sewing onto the body. Set aside.
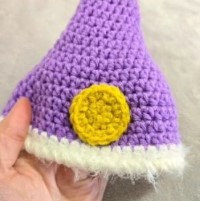
Hat Spots x3
Start with yellow yarn (weight 4 with 5 mm hook)
Rnd 1: hdc 8 in a Mr (8) sl st and ch 1
Rnd 2: hdc inc x8 (16) sl st
Fasten off with a long tail for sewing onto the hat.
Position spots on the hat and attach by sewing through the 3rd loop of round 2 only. This gives a seamless finish.
Pom Pom
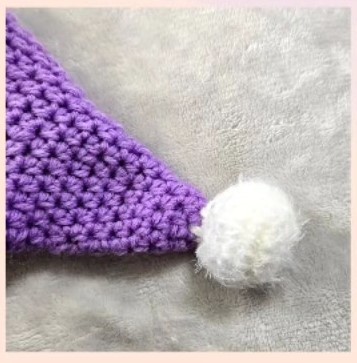
Start with white yarn (weight 4 with 5 mm hook)
Rnd 1: 6 sc in a Mr (6)
Rnd 2: inc x 6 (12)
Rnd 3: (1 sc, inc) x 6 (18)
Rnd 4: sc around (18)
Rnd 5: sc around (18)
Rnd 6: (1 sc, dec) x 6 (12)
Stuff with marble and stuffing. The marble is added for extra weight to keep pom pom weighed down.
Rnd 7: dec x 6 (6)
Fasten off with a long tail for sewing onto the hat. Sew hole shut.
Sew onto round 1 of the hat.
Attach Hat
Sew hat onto the body so that it overhangs slightly over the legs and arms. Sew using a back stitch over round 22 of the hat for a seamless finish.