Designer: Lex in Stitches
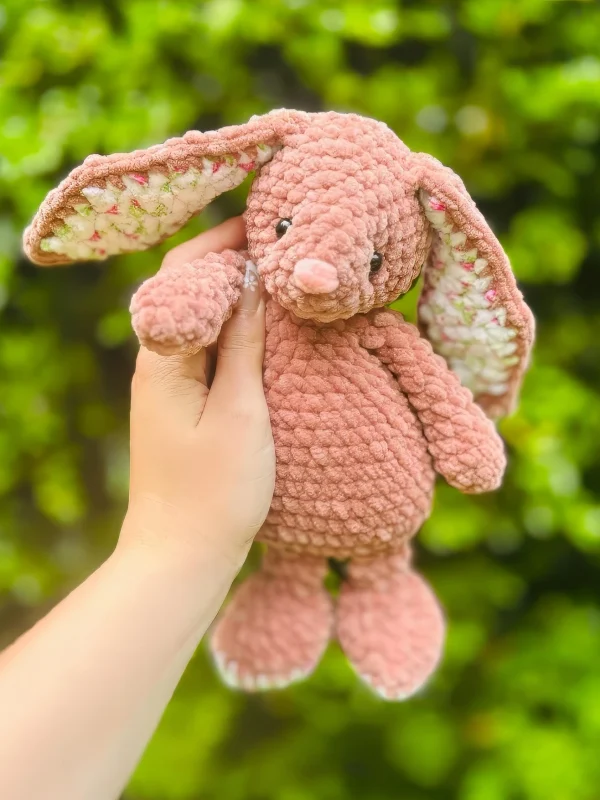
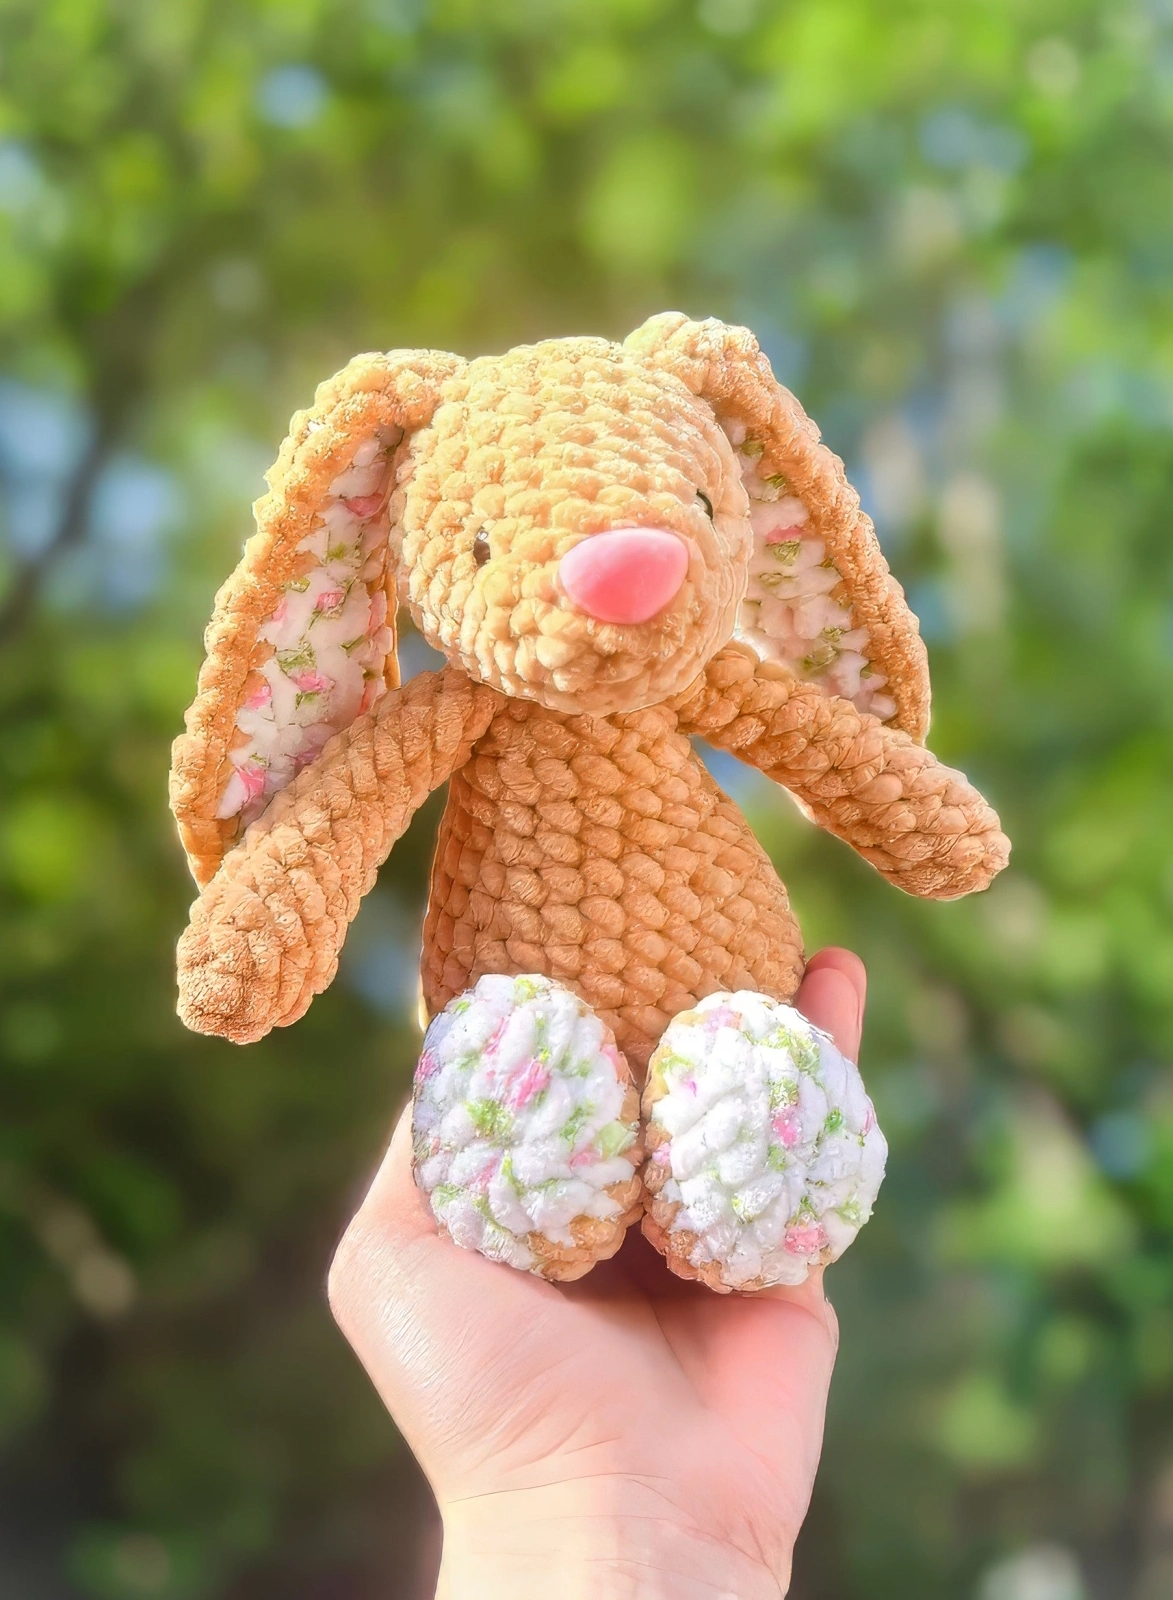
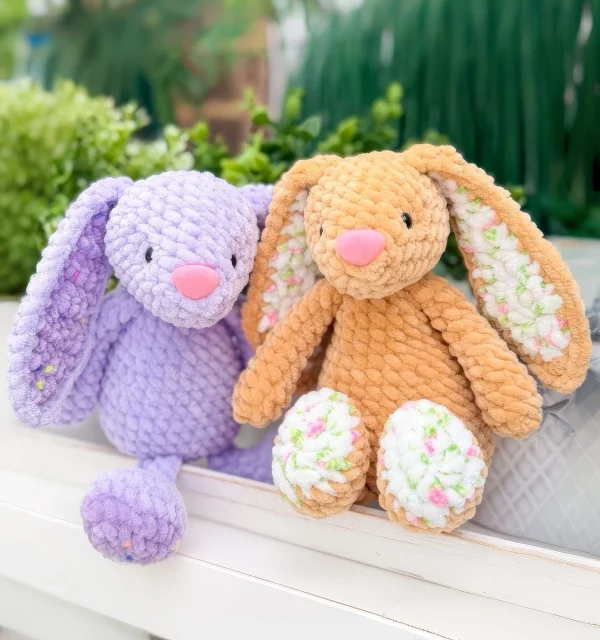
A little crochet bunny with adorable features and a soft, cuddly charm. This free crochet bunny pattern can be made in a variety of yarns for different-sized stuffed animals, using different yarn weights with suitable hooks for each one.
Materials used are Chenille yarn in brown, white, and red shades, a 4 mm hook, 15 mm safety eyes, fiberfill, scissors, and a yarn needle.
This pattern is so easy and takes no time to finish, and it has additional instructions on how to make the face details (indent eyes, nose, eye detail, eyebrows, chin), and how to assemble all parts.
It’s perfect for adding to nursery decorations, including in gift boxes, or a charming addition to an Easter basket. Once you make one, it’ll be hard to stop at just one bunny!
Materials
- Super Chunky Chenille yarn in main color (<50 g) and accent color (<20g)
- 4 mm crochet hook
- 8 mm safety eyes
- 20 mm safety nose
- Stitch markers
- Stuffing
- Scissors
- Tapestry needle
Abbreviations
Mr – magic ring
ch – chain stitch
sc – single crochet
hdc – half double crochet
inc – increase
dec – decrease
sl st – slip stitch
BOB – bobble stotch
FLO – front loops only
BLO – back loops only
Arms x2
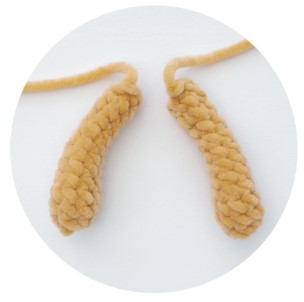
Start with main color yarn. Do not stuff.
Rnd 1: sc x 6 in a Mr (6)
Rnd 2: (inc, sc) x 3 (9)
Rnd 3-4: sc x 9 (9) (2 rounds)
Rnd 5: dec, sc x 7 (8)
Rnd 6: sc x 8 (8)
Rnd 7: dec, sc x 6 (7)
Rnd 8-9: sc x 7 (7) (2 rounds)
Rnd 10: dec, sc x 5 (6)
Rnd 11-12: sc x 6 (6) (2 rounds)
Fasten off, leaving a short yarn tail.
Legs x 2
Start with accent color.
Rnd 1: ch 5, start in the 2nd ch from hook, [sc x 3], sc x 3. work down the other side of your foundation ch, sc x 3, [sc x 3] (12)
Rnd 2: inc x 3, sc x 2, inc x 2, sc x 2, inc x 3 (20)
Color change to main color.
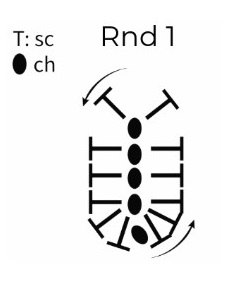
Rnd 3: sc x 20 (20)
Rnd 4: sc x 8, dec x 2, sc x 8 (18)
Rnd 5: sc x 5, dec x 4, sc x 5 (14)
Rnd 6: sc x 3, dec x 4, sc x 3 (10)
Stuff the leg.
Rnd 7: sc, dec x 4, sc (6)
Rnd 8: sc x 6 (6)
Add additional sc until you are at the side of the leg. Fold the opening flat and ch 1 then sc x 3 across both layers to close.
Leave a short yarn tail only.
Ears x2
Inner Ear – make two in accent color.
Work in rows. Ch 1 and turn at the end of the row. Use standard decreases when working in rows.
Row 1: ch 2, start in the 2nd ch from hook, inc (2)
Row 2: inc x 2 (4)
Row 3: sc x 4 (4)
Row 4: inc, sc x 2, inc (6)
Row 5: sc x 6 (6)
Row 6: dec, sc x 2, dec (4)
Row 7-9: sc x 4 (4) 3 rows
Row 10: dec x 2 (2)
Row 11-14: sc x 2 (2) 4 rows
Fasten off, leaving a short yarn tail.
Outer Ear – make two, using main color. Repeat instruction from the inner ear. Do not fasten off. Do not turn after row 14.
We will now go on to join the inner and outer ears together.
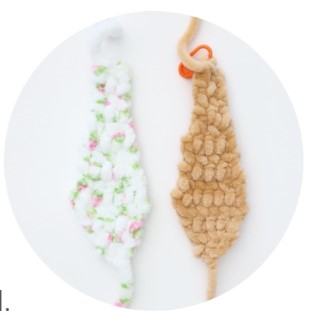
Joining the Ears
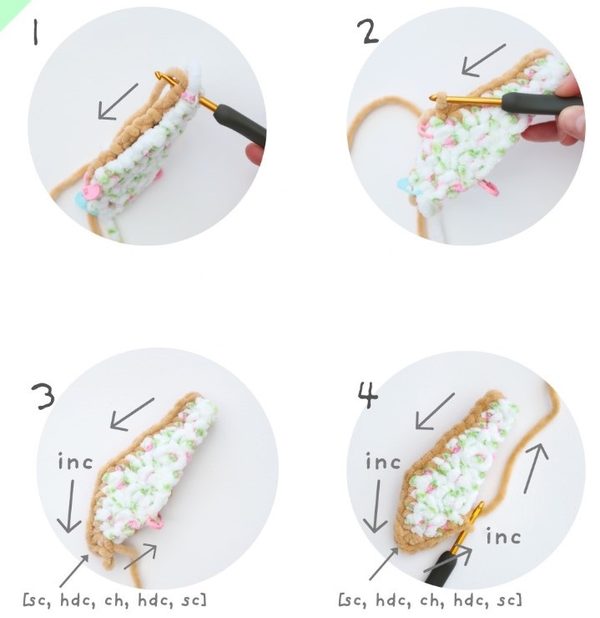
Place the inner ear piece on top of the outer ear. Work anticlockwise around the ear. You may find it helpful to pin row 5 of the ears together with stitch markers before starting. Crochet over and/or tuck any loose yarn tails inside the ear as yoy go. Do not stuff the ears.
Row 15: Ch 1. Make sc through both pieces of the ear down until you reach row 5, make an inc in the side of row 5,
continue to join with sc until you reach the foundation ch of row 1,
into the foundation ch, [sc, hdc, ch, hdc, sc],
continue to make sc back up the other side of the ear until you reach row 5,
make an inc in the side of row 5, continue to join with sc arouund the remainder of the ear.
Sl st back in to the frist sc, turn, sc x 2, sl st and fasten off leaving a yarn tail for sewing later.
Head
[x] – make series x in same stitch. Make in main color.
Rnd 1: sc x 6 in to Mr (6)
Rnd 2: ([sx x 3], sc) x 3 (12)
Rnd 3: sc x 12 (12)
Rnd 4: sc, ([sc x 3], sc x 3) x 2, [sc x 3], sc x 2 (18)
Rnd 5: sc x 18 (18)
Rnd 6: sc x 2, ([sc x 3], sc x 5) x 2, [sc x 3], sc x 3 (24)
Rnd 7: sc x 24 (24)
Rnd 8: sc x 3, ([sc x 3], sc x 7) x 2, [sc x 3], sc x 4 (30)
Rnd 9-11: sc x 30 (30) (3 rounds)
Add the safety eyes between rnd 5-6 within the same st as the [sc x 3] of rnd 6. There will be 7 sts visible between them.
Add the safety nose between rnd 2-3, centered between the eyes. Alternatively embroider the nose and/or the eyes.
Stuff the head.
Rnd 12: (sc x 3, dec) x 6 (24)
Rnd 13: (sc x 2, dec) x 6 (18)
Rnd 14: (sc, dec) x 6 (12)
Rnd 15: dec x 6 (6)
Fasten off. Use your yarn tail to weave through the FLOs of the final round and close the head.
Body
Start with main color. The arms and legs will be crocheted in the body. Crochet over loose yarn tails as you go.
Rnd 1: ch 7, start in the 2nd ch from hook, inc, sc x 4, inc, work down the other side of the ch, inc, sc x 4, inc (16)
Rnd 2: inc x 2, sc x 4, inc x 4, sc x 4, inc x 2 (24)
In the next round we will join the legs.
Rnd 3: on the body, sc, inc,
Join the leg. Worj your stitches across both the leg and the body – sc, inc, sc
On the body, sc x 2,
Join the next leg – sc, inc, sc
On the body, inc, sc, (sc, inc) x 2, sc x 4, (inc, sc) x 2 (32)
Rnd 4: sc x 4, inc, sc x 6, inc, sc x 8, inc, sc x 6, inc, sc x 4 (36)
Rnd 5-6: sc x 36 (36)
Rnd 7: sc around until you reach the centre back of the body then make a BOB.
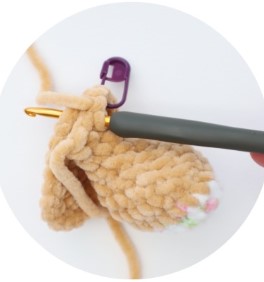
Finish rnd 7 here. The next st made will be the new start of the round.
Rnd 8: sc x 5, dec, sc x 4, dec, sc x 10, dec, sc x 4, dec, sc x 5 (32)
Rnd 9: sc x 32 (32)
Rnd 10: sc x 3, dec, (sc x 6, dec) x 3, sc x 3 (28)
Rnd 11: sc x 28 (28)
Stuff the body and continue to stuff as you go.
Rnd 12: sc x 3, dec, (sc x 5, dec) x 3, sc x 2 (24)
Rnd 13: sc x 24 (24)
Rnd 14: (sc x 3, dec) x 6 (18)
Rnd 15-16: sc x 18 (18) (2 rounds)
Start the next round centrally at the back of the body. Add or remove sc to achive this position.
Rnd 17: sc, dec, sc x 3, dec, sc x 2, dec, sc x 3, dec, sc (14)
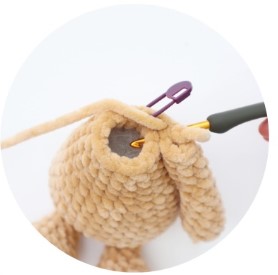
In the next round, we will join the arms. The arms should sit at the sides of the body. The decreases on the arms should face outwards.
Rnd 18: sc x 2, fold the final round of the arm flat and place this in front of the next 3 sts on the body, (sc across both layers of the arm and the next st on the body) x 3 times, sc x 4 on the body, fold the final round of the second arm flat and place this in front of the next 3 sts on the body, (sc across both layers of the arm and the next st on the body) x 3 times, sc x 2 on the body (14)
Fasten off. The yarn tail may be left long if you want to use this to attach the head.
Assembly
- Sew the ears to the head between rnds 11-12 in line with the eyes.
- Sew the head to the body.