Designer: Rosalie Toys
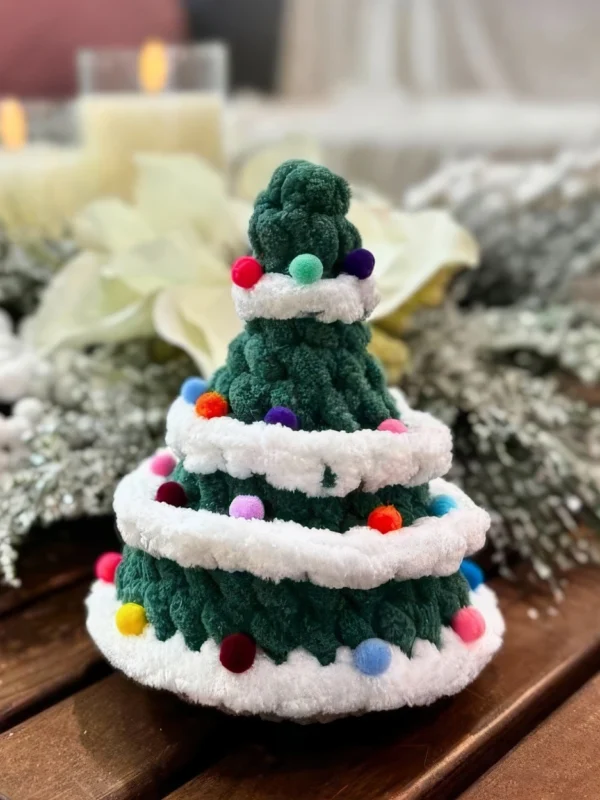
Fluffy, festive, and decorated with tiny colorful pom-poms, this crochet Christmas tree is full of holiday spirit and ready to brighten up your home for Christmas. No sewing, no stress, just a little bit of seasonal magic crocheted in one cozy evening.
You will need chenille yarn in green, brown, and white colors, a 7 mm crochet hook, stuffing, a stitch marker, and a collection of small multicolor pom-poms for the ornaments. The pom-poms give the tree its festive look, but you can use other decorations or even leave it plain if you prefer.
This pattern is simple and beginner-friendly. It is worked in continuous rounds and uses only basic stitches like single crochet, increase, and decrease. Nothing complicated at all.
Place this lovely tree on a windowsill, bookshelf, or next to your gifts. You can make a whole forest of different sizes or give one as a handmade holiday gift. It will bring a warm and cozy atmosphere wherever it goes.
Materials
- Yaen Alize Velutto (Jumbo) in colors:
- green, brown, white
- 7.0 mm crochet hook
- Yarn needle
- Fiberfill
- Stitch marker
Abbreviations
Mr – magic ring
ch – chain
sl st – slip stitch
sc – single crochet
dec – decrease
inc – increase
hdc – half double crochet
The pattern is crocheted in continuous rounds.
Tree
Start with green.
Rnd 1: 4 sc in a Mr (4)
Rnd 2: (1 sc, inc) x 2 (6)
Rnd 3: 6 sc around (6)
Rnd 4: BLO: (2 sc, inc) x 2 (8)

Rnd 5: (3 sc, inc) x 2 (10)
Rnd 6: (4 sc, inc) x 2 (12)
Rnd 7: (2 sc, inc) x 4 (16)
Rnd 8: BLO: (7 sc, inc) x 2 (18)
Rnd 9: (2 sc, inc) x 6 (24)
Rnd 10: BLO: (11 sc, inc) x 2 (26)
Rnd 11: (12 sc, inc) x 2 (28)
Stuff tree. Cut the yarn, fasten off.
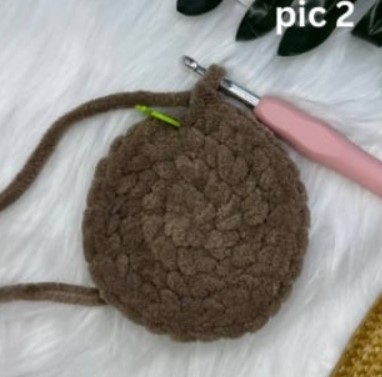
Tree Base
Start with brown.
Rnd 1: 8 sc in a Mr (8)
Rnd 2: 8 inc (16)
Rnd 3: (1 sc, inc) x 8 (24)
Rnd 4: (11 sc, 3 sc in one st) x 2 (28)
Cut the yarn, fasten off.
Assembly
- Place the base piece at the bottom of the tree.
- Using white yarn, join at the point where R11 ended, making a sl st through both layers.
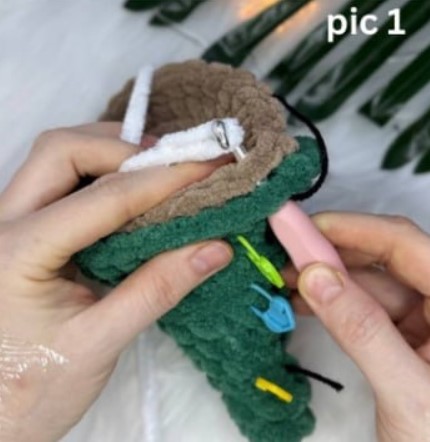
- Continue crocheting around, working (sc, hdc) throught both layers, alternating stitches until the hole is fully closed. You should have 28 stitches at the end of the round.
Don’t forget to add stuffing if needed before closing. But keep the bottom of the tree nice and flat.
Cut the white yarn, fasten off. Tie off the ends with a secure knot, and tuck them inside the tree.

Tinsel
Take the white yarn and attach it with a sl st to the first front loop of R10. Continye crocheting around, working (sc, hdc) to the end of the round. You should end up with 11 repeats and one stitch left. Make sc in that last stitch.
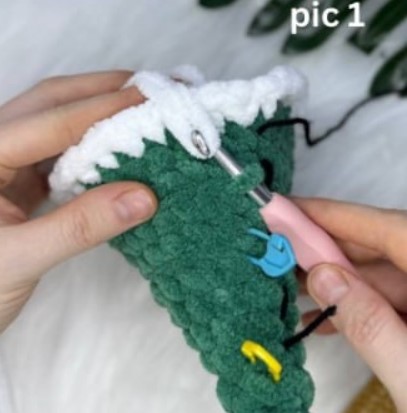
Cut the yarn, tie the ends in a knot, and hide them inside the tree.
Repeat the same in R8.
Take the white yarn and attach it with a sl st to the first front loop of R4. Continue crocheting sc around until the end of the round (not too tight).