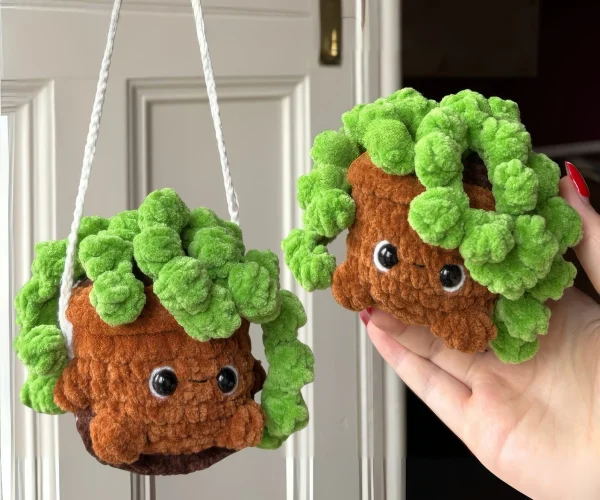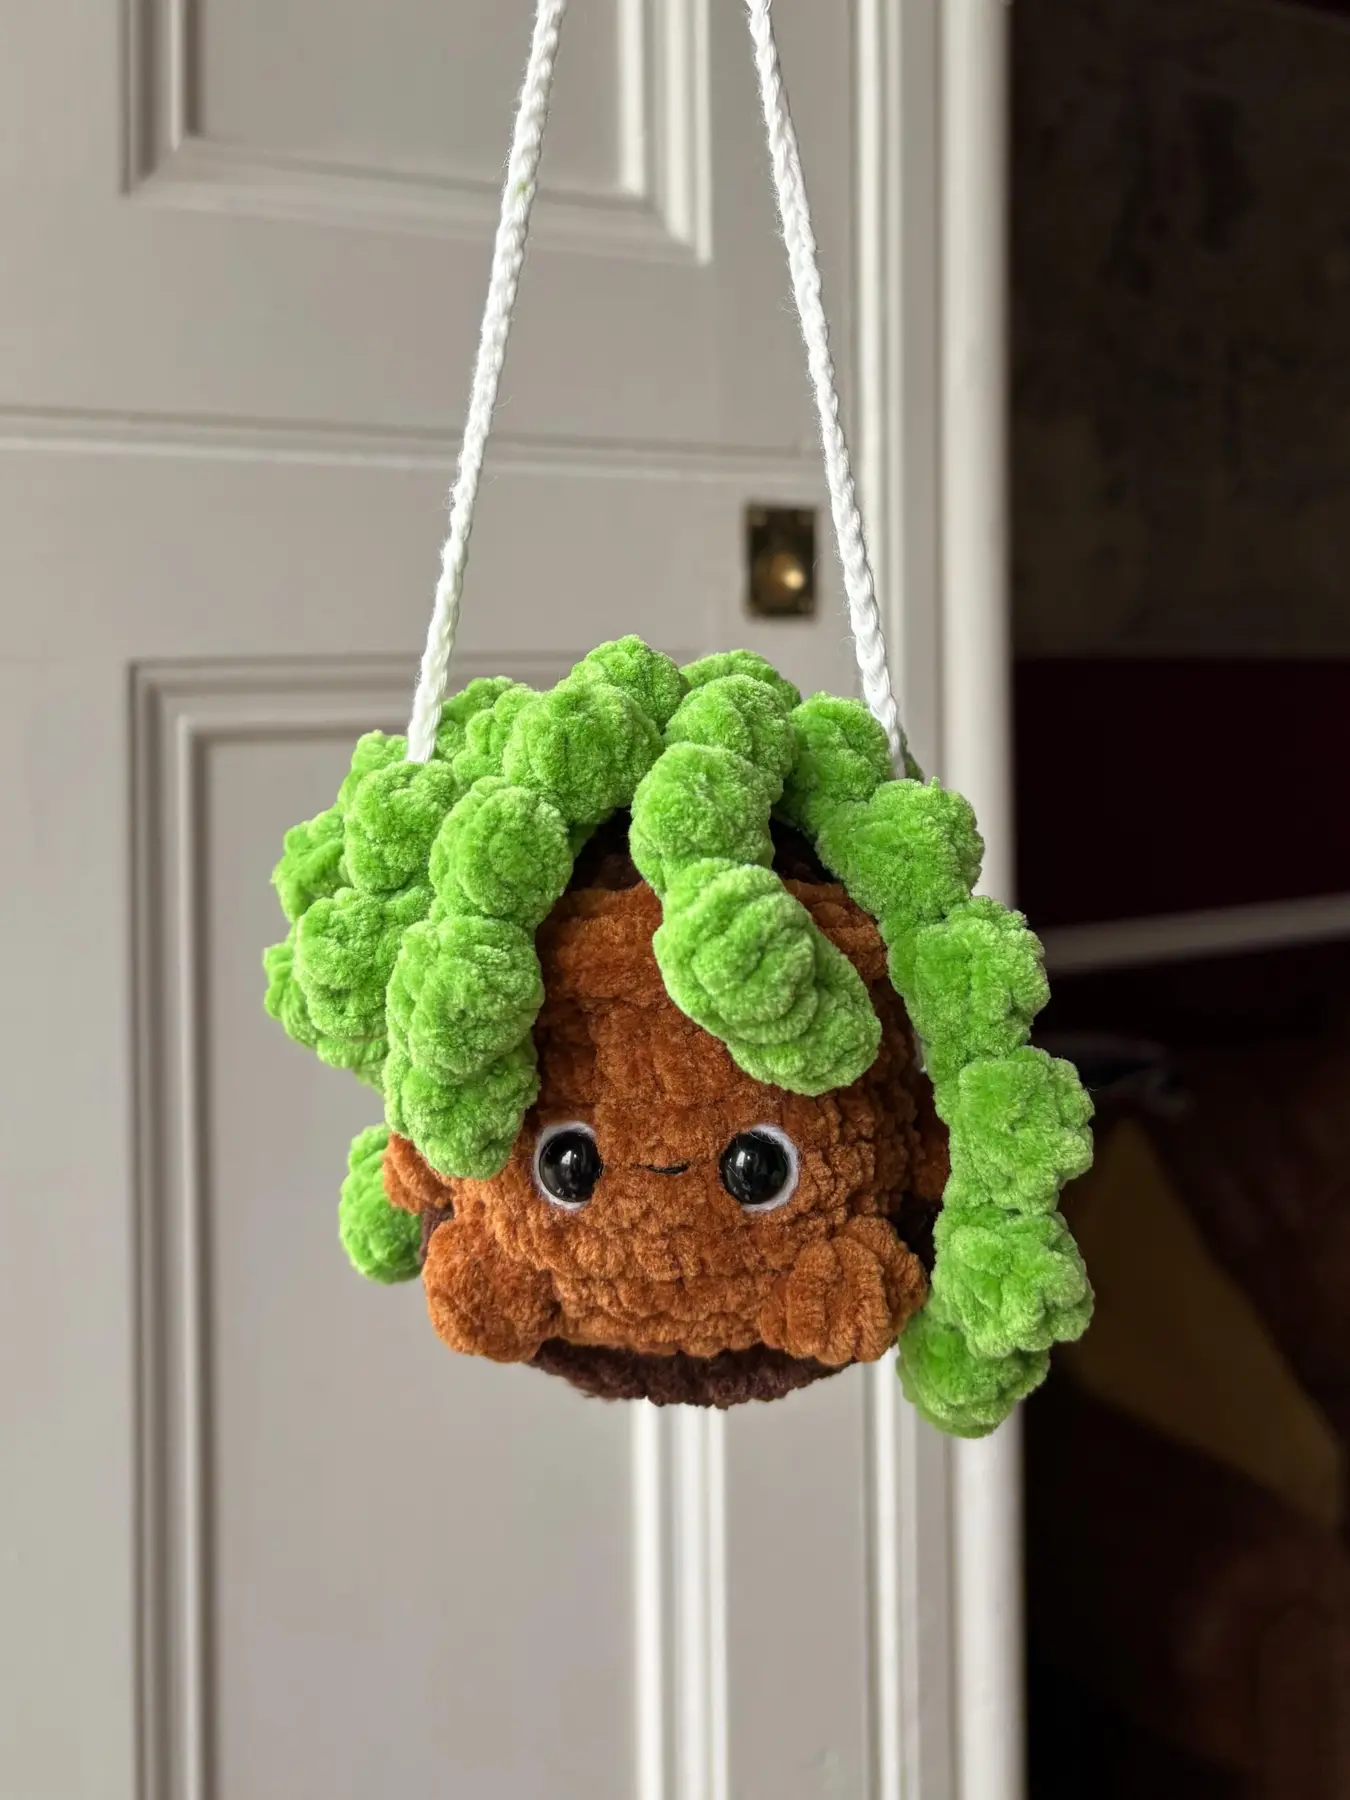
Designer: Blossom Moon Crafts
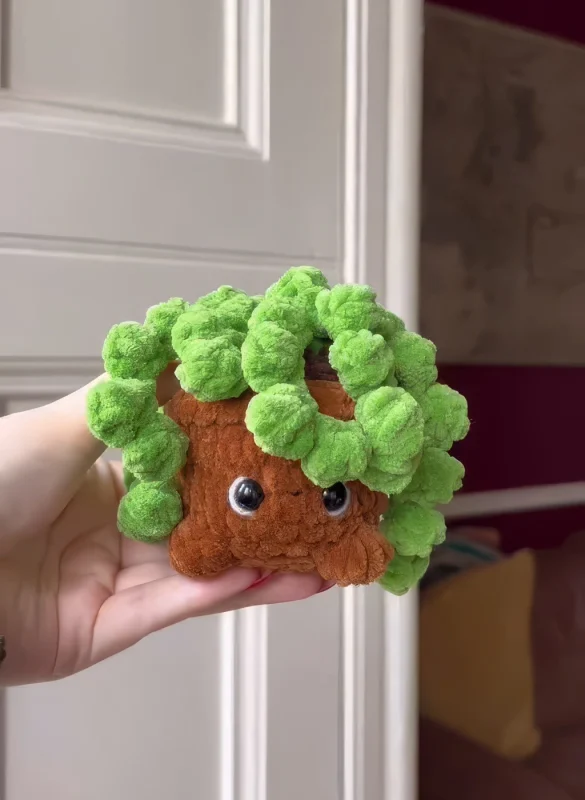
Create an elegant and delicate crochet string of pearls hanger to add a beautiful handmade touch to your home decor. This cheerful String-of-Pearls plant hanger has a chunky terracotta pot with the sweetest smiley face, trailing bobble vines that drape down beautifully, and a soft braided cord so you can hang it anywhere.
This tutorial includes how to make this hanger with step-by-step instructions; it begins with making the pot and string of pearls, the hanger for the pot, and how to attach eyes and embroider mouth and eye details.
This charming design combines soft crochet details with pearl accents, making it perfect for hanging ornaments, decorating doors, windows, walls, shelves, or festive displays. A lovely project for crochet lovers who enjoy simple, decorative pieces with a timeless and elegant look.
Materials
- Chenille yarn in colors: light brown, dark brown, green
- DK weight (size 3) yarn in colors: black, white
- 6 mm (for Chenille) and 3 mm (for DK) crochet hooks
- 10 mm safety eyes
- Tapestry needle
- Stitch markers
- Scissors
- Stuffing
Abbreviations
Mr – magic ring
sc – single crochet
inc – increase
dec – decrease
ch – chain
sl st – slip stitch
FLO – front loop only
BLO – back loop only
BOB – bobble stitch
The pattern is worked in continuous rounds.
Pot
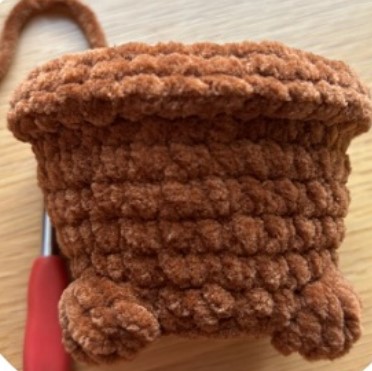
Start with light brow yarn. We’ll crochet the plant pot starting from the bottom.
Rnd 1: 6 sc in a Mr (6)
Rnd 2: 6 inc (12)
Rnd 3: (sc, inc) x 6 (18)
Rnd 4: BLO: 6 sc, 4 st BOB, 5 sc, 4 st BOB, 5 sc (18)
Rnd 5: sc, inc, (2 sc, inc) x 5, sc (24)
You may need to adjust the position of the arms depending on your tension.
(Optional) You can choose not to add legs and arms, so just replace the BOB with sc.
Rnd 6: 6 sc, 3 st BOB, 12 sc, 3 st BOB, 4 sc (24)
Rnd 7: 24 sc (24)
Rnd 8: 2 sc, inc, (4 sc, inc) x 4, sc (29)
Rnd 9-10: 29 sc (29) (2 rounds)
Rnd 11: FLO: 29 sc (29)
Now we want to fold over the top round and attach this to the pot. After finishing R11, sl st joiun R11 between R9 and R10.
Cut the light brown yarn. Pull through the last loop on the hook to secure (fasten off) and hide the remainder of the tail in the pot.
Eyes
Add safety eyes between R6 and R7, so there are about 2-3 stitches between.
To add in the white around the eye, take around 10 cm/ 4 inch of the white DK yarn. Bring it out just underneath the eye, as close to the eye as possible, and place it back in at the top as close to the eye as possible. Tie the yarn tails together tightly on the inside and repeat on the other eye. You can add this at the end if you prefer.
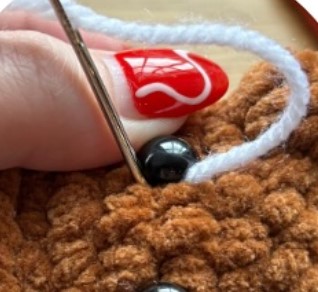
Mouth
Using the small piece of black DK weight yarn or embroidery floss, add in the mouth wherever you think it looks cutest.
For R12 we will use the back loops left over from R11. To start, sl st attach the dark brown yarn to one of the back loops. We begin R12 in this same stitch.

Rnd 12: BLO: 2 sc, dec, (4 sc, dec) x 4, sc (24)
Stuff the pot.
Rnd 13: sc, dec, (2 sc, dec) x 5, sc (18) – begin the change to green in the final stitch of R13.
In R14 and R15 we create the plant part. Each stitch will be made up of a combination of BOB and sl st. Whilst performing R14, recommended making each of the sc stitches at the base of the chain, this will help when it comes to R15.
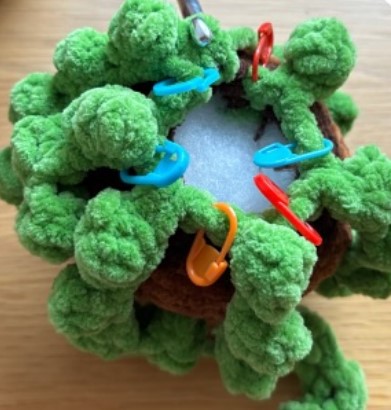
Rnd 14:
- sc and chain 12. Starting from the 2nd chain from the hook do 4st BOB, sl st, (4st BOB, 2 sl st) x 3,
- dec,
- sc and chain 15. Starting from the 2nd chain from the hook do 4st BOB, sl st, (4st BOB, 2 sl st) x 4,
- dec,
- sc and chain 21. Starting from the 2nd chain from the hook do 4st BOB, sl st, (4st BOB, 2 sl st) x 6,
- dec,
- sc and chain 12. Starting from the 2nd chain from the hook do 4st BOB, sl st, (4st BOB, 2 sl st) x 3,
- dec,
- sc and chain 9. Starting from the 2nd chain from the hook do 4st BOB, sl st, (4st BOB, 2 sl st) x 2,
- dec,
- sc and chain 15. Starting from the 2nd chain from the hook do 4st BOB, sl st, (4st BOB, 2 sl st) x 4,
- dec
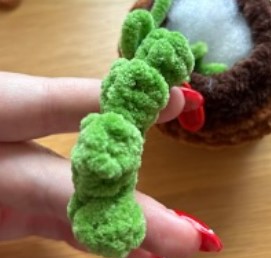
Rnd 15:
- dec,
- dec and chain 9. Starting from the 2nd chain from the hook do 4st BOB, sl st, (4st BOB, 2 sl st) x 2,
- dec,
- dec and chain 15. Starting from the 2nd chain from the hook do 4st BOB, sl st, (4st BOB, 2 sl st) x 4,
- dec,
- dec and chain 21. Starting from the 2nd chain from the hook do 4st BOB, sl st, (4st BOB, 2 sl st) x 6
You may find that the bobbles are inverted on your strings. Use your finger to press them out.
Cut the green yarn tail and pull through the remaining loop on the hook (fasten off). Weave the remaining yarn tail through R15 and pull to close the hole. Then weave and hide any left over tail in the top.
Hanging plant (Optional)
First, make the little bench that the plant will sit on. Use dark brown yarn.
Rnd 1: make a slip knot and chain 12. Starting from the 2nd chain on the hook do 11 sc (11)
Rnd 2: chain 1 and turn your work. 11 sc (11)
Rnd 3: chain 1 and turn your work. 11 sc (11)
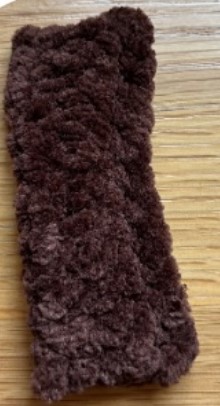
Cut the yarn tail and pull through the remaining loop on your hook (fasten off). Hide any yarn tails.
Now we add on the hanger and attach this all to the plant.
Start with DK weigh yarn in white.
- Use your compatible hook to sl st attach the DK weight yarn to one side of the bench.
- Chain 100.
Cut the yarn tail, leaving around 15cm/6inch and pull through the final loop on the hook (fasten off).
Place your hook through one of the arm BOB stitches (going ffrom the top of the pot to the bottom) and hook on the end of hanger chain.
Pull the chain through the arm BOB stitch until the bench is touching the bottom of the arm.
Now place your hook through the other arm BOB stitches (going from the bottom of the pot to the top) and hook on the end of hanger chain. Pull this through the BOB stitch.
Use a yarn needle to secure the end of the chain to the bench. Tie more knots to the bench using the acrylic yarn tails as needed before hiding them in the base of the bench.
Pull up on the chain and reposition the bench as needed.
If you would like to make the hanger extra secure you can: sew the bench to the base of the plant pot. Sew the hanger to the rim of the pot.