Designer: Amigurumi Amo
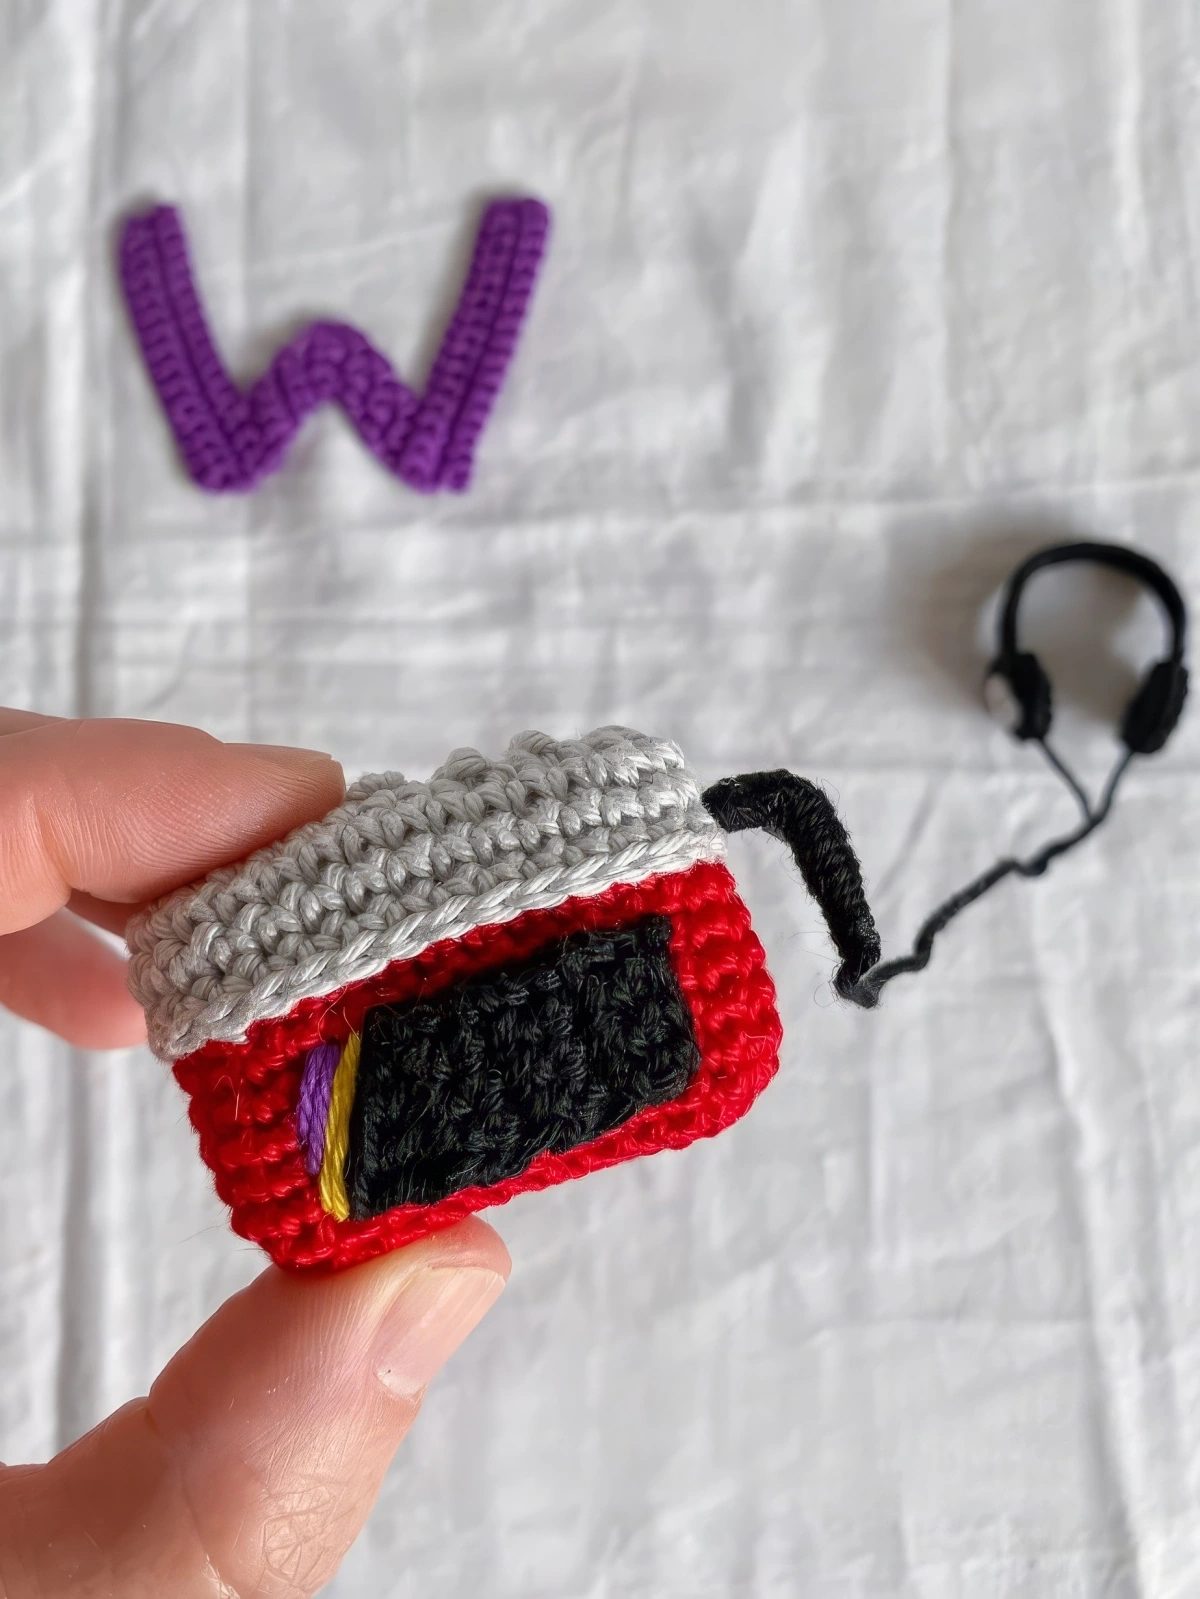
Bring a little retro nostalgia to your crochet collection with this adorable miniature Walkman! Inspired by the classic music player.
This tutorial starts with how to make the Walkman body, the black rectangular part, and the headset.
Stitches used in this tutorial are so simple and easy, like single crochet stitches, half double crochet, double crochet, double treble crochet, and some crochet techniques like increasing and decreasing, and working in the back loop only.
It’s perfect for lovers of vintage gadgets, music-themed accessories, and unique handmade creations. Or use it as a cute keychain.
Materials
- 2,5 mm / 3 mm crochet hook
- Cotton yarn
- yarn needle
- Stuffing
- Wire
- Cardboard
- Glue
Abbreviations
Mr – magic ring
ch – chain
st – stitch
sl st – slip stitch
sc – single crochet
hdc – half double crochet
dc – double crochet
dtr – double treble crochet
BLO – back loops only
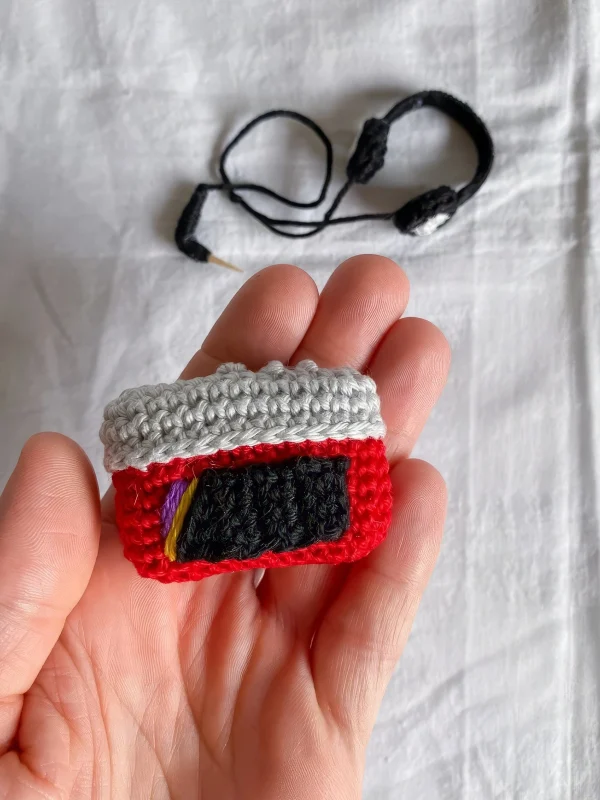
Walkman
End each round with a sl st in the first st of previous round, ch and work the first st of the next round in the same st.
ch 12 + 12
Rnd 1: hdc 2 in third ch from hook (ch 2 does not count as hdc), 10 hdc, 4 hdc in 12th st, 10 hdc, 2 hdc (28)
Rnd 2: sc, inc, 10 sc, inc, 2 sc, inc, 10 sc, inc, sc (32)
Rnd 3: sc in each st of the previous round (32)
Rnd 4: dec, 15 sc, dec, 13 sc (30)
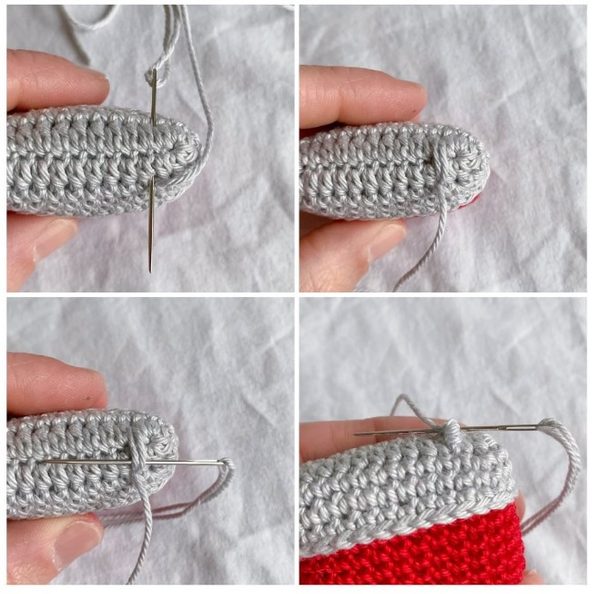
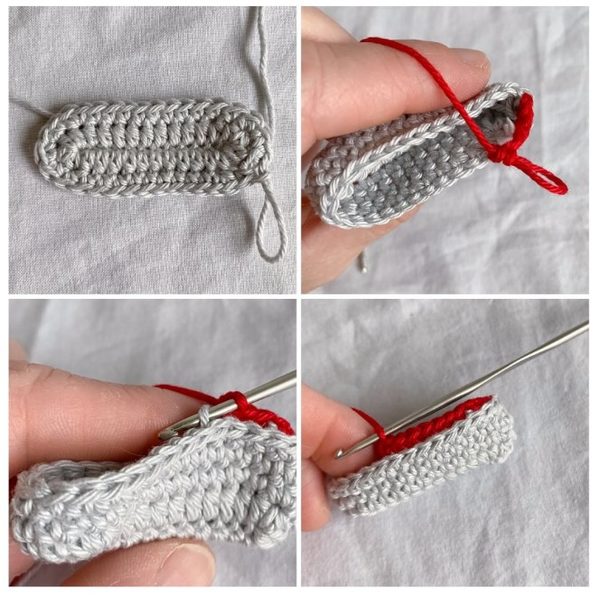
Rnd 5: change color and work 30 sc in third loop
Rnd 6-10: Sc in each st of the previous round (30)
Rnd 11: sc, dec, 11 sc, dec, sc, dec, 9 sc, dec (26)
Rnd 12: sc, dec, 9 sc, dec, sc, dec, 7 sc, dec (22)
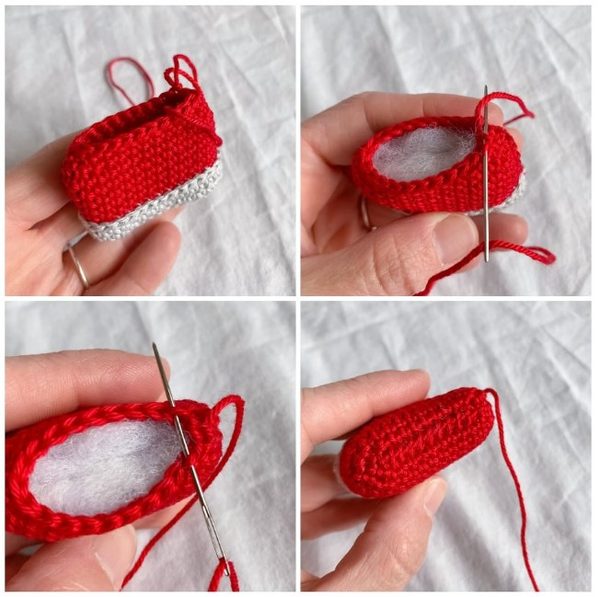
Stuff.
Black Rectangle on the Front
ch4 + 1 (work in rows)
Sc in the second ch from hook, 3 sc, hcaund turn (4)
Repeat for 5 row in total, ch and turn at the end of each row (4)
sc, hdc, dc, dtr (4)
Cut off and sew, embroider the two coloured stripes.
Headset
Make 2 circles.
Rnd 1: grey: 6 sc in Mr (6)
Rnd 2: black: BLO: inc x 6 (12)
Rnd 3: black: BLO: 12 sc (12)
Rnd 4: black: BLO: dec x 6 (6)
Cut off and secure.
To create the arch between the circles, use a piece of wire and a cardboard (approx 5.5 cm).
Fold in half and glue the wire inside. Cover with black thread. Insert the end of the wire in each round and secure with glue.
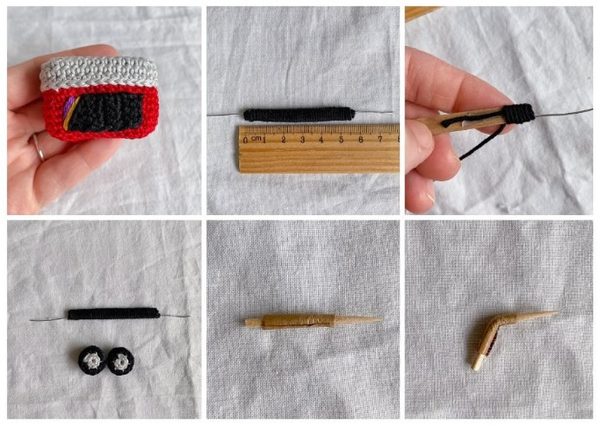
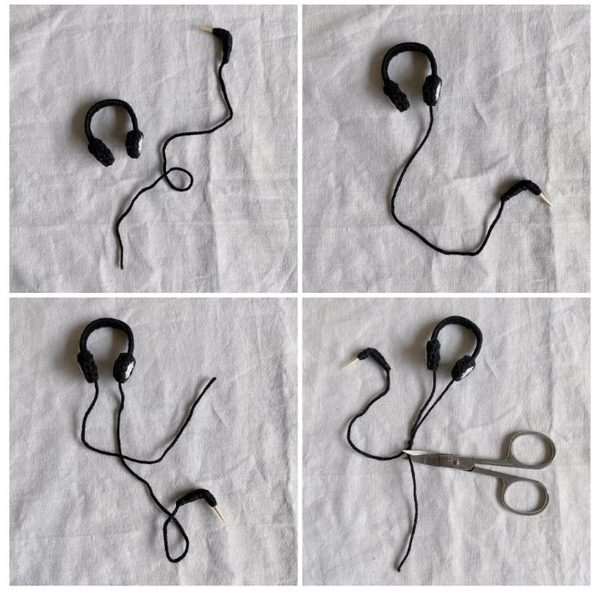
For the plug use a toothpick (use about half) and cover with cardboard. Fold in halft to create the L shape and cover with black thread (use some glue to secure the thread), leave a long tail and sew to one of the two rounds.
Take another piece of black thread for the other one round and join with a knot to the long one.
Buttons