Designer: Just A Mom Crocheting
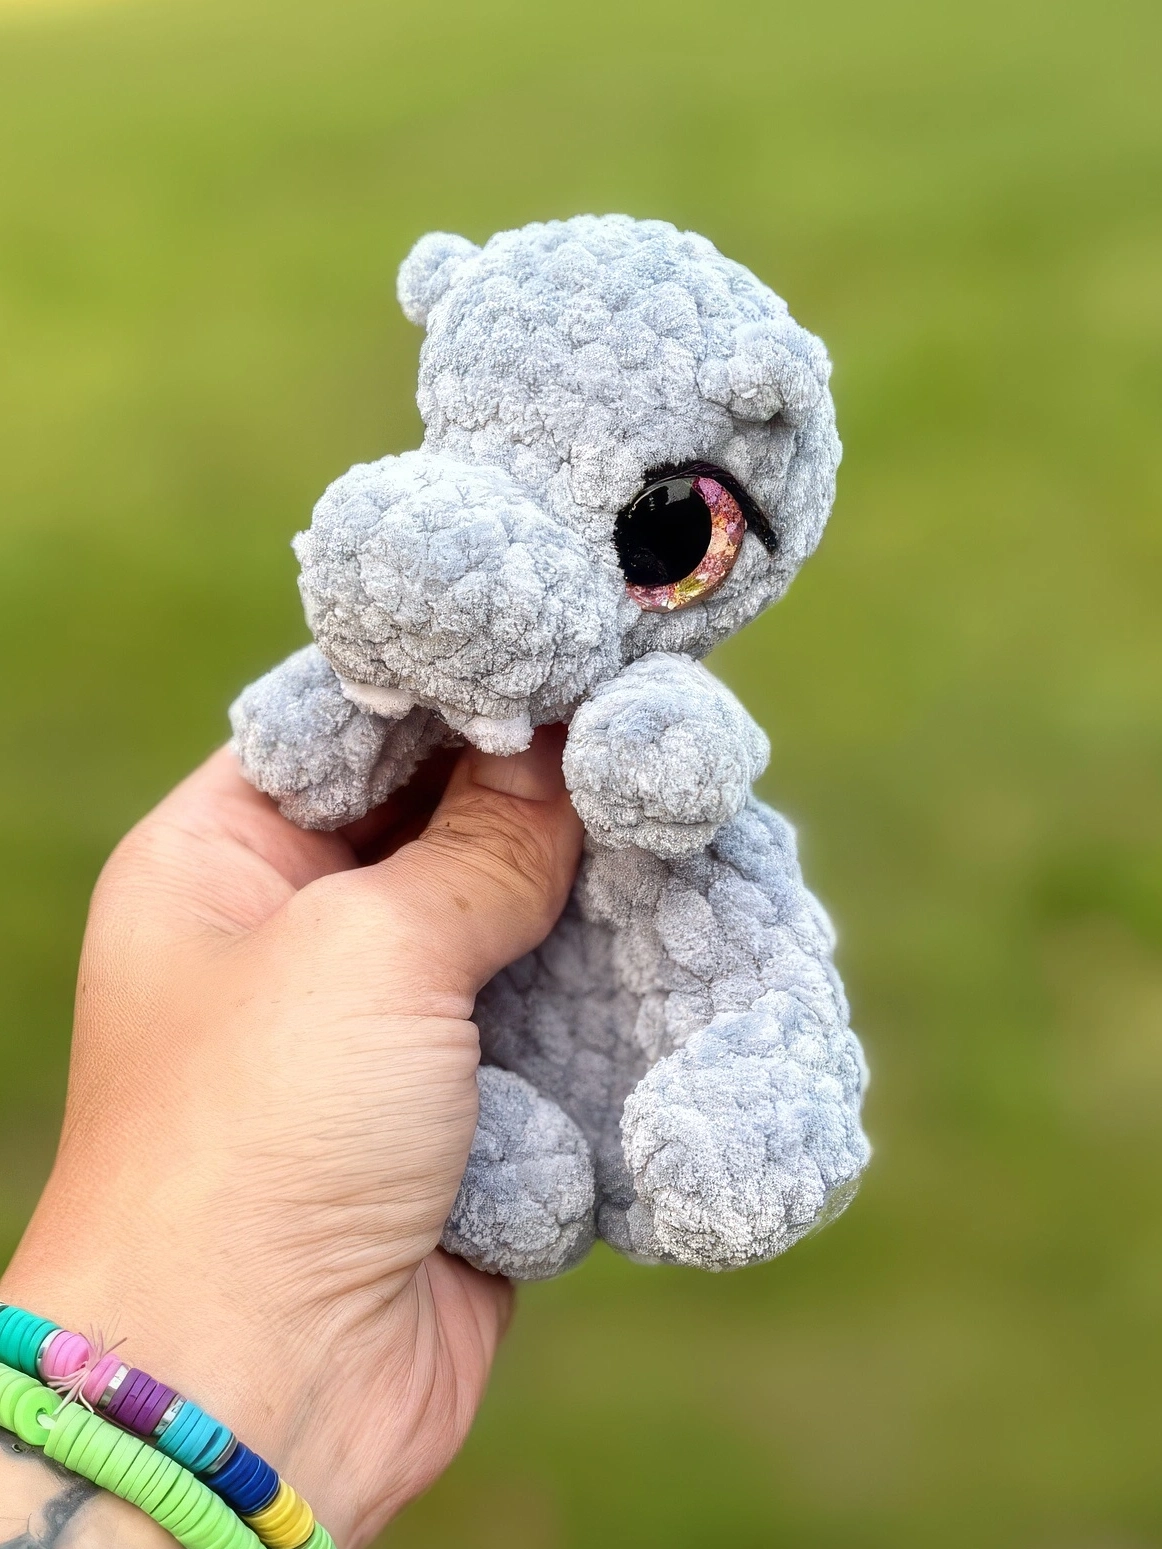
Bring a touch of handmade charm to your collection with this adorable crochet hippo! Designed with a rounded body, tiny ears, a wide snout, and short legs.
This pattern uses basic stitches like single crochet stitches, half double crochet stitches, and some crochet techniques like how to increase and decrease, working in front & back loop only.
The written instructions below include how to make this hippo, it starts with making the arms, legs, body, ears, and head, and it also contains how to make the face shape, teeth and how to assemble all parts at the end.
You can display in nursery, safari, or animal-themed décor, or add to a collection of crochet safari or zoo animals.
Materials
- Chenille yarn (YarnArt Dolce)
- Acrylic yarn (optional)
- 4.00 mm crochet hook
- 18 mm safety eyes
- Stitch markers
- Stuffing
- Tapestry needle
- Scissors
Abbreviations
Mr – magic ring
ch – chain
sl st – slip stitch
sc – single crochet
inc – increase
dec – decrease
hdc – half double crochet
hdc-inc – hdc increase (2 hdc in same st)
hdc-dec – invisible hdc decrease
S2CFH – start in the 2nd ch from hook
BLO – back loop only
FLO – front loop only
Pattern worked in continuous rounds.
Arms x2
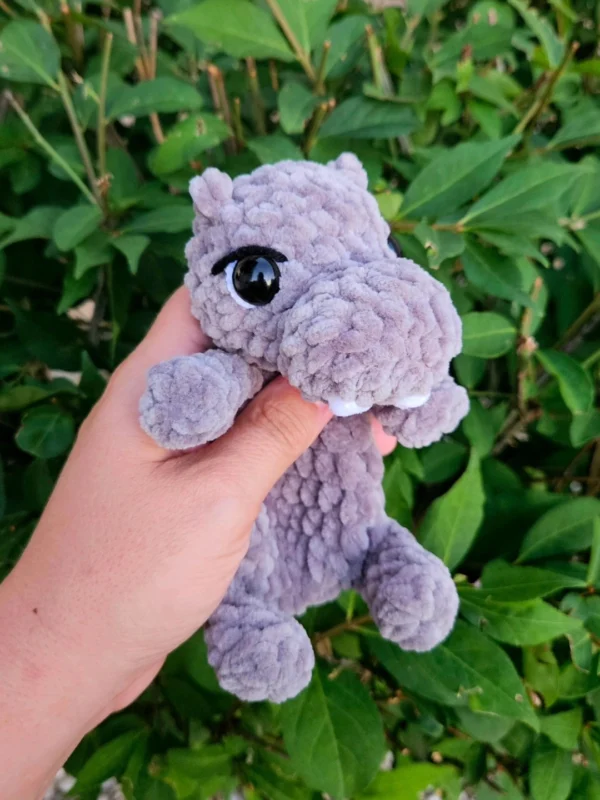
Using grey yarn.
Rnd 1: 6 hdc in Mr (6)
Rnd 2: BLO: 6 sc (6)
Rnd 3-4: 6 sc (6) (2 rounds)
Rnd 5: (1 sc, dec) x 2 (4)
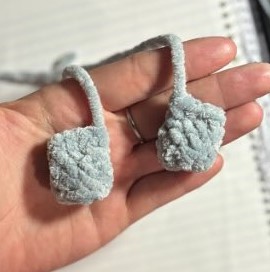
Stuff lightly, just use yarn tails. Do 1 sc, fold in half and do 2sc through both halves to close.
Fasten off, no need to leave a tail, we will be crocheting the arms to the body.
Legs x2
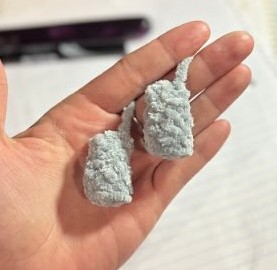
Using grey yarn.
Rnd 1: 8 hdc in Mr (8)
Rnd 2: BLO: 8 sc (8)
Rnd 3: 8 sc (8)
Rnd 4: (2 sc, dec) x 2 (6)
Stuff lightly, just use yarn tails. Do 1 sc, fold in half and do 3 sc through both halves to close.
Fasten off, do leave a tail for sewing to the body.
Body
Using grey yarn.
Rnd 1: 8 sc in a Mr (8)
Rnd 2: (1 hdc, hdc-inc) x 4 (12)
Rnd 3: 12 hdc-inc (24)
Rnd 4: 24 hdc (24)
Rnd 5: (4 hdc, hdc-dec) x 4 (20)
Rnd 6: 20 hdc (20)
Rnd 7: (3 hdc, hdc-dec) x 4 (16)
Rnd 8: (2 hdc, hdc-dec) x 4 (12)
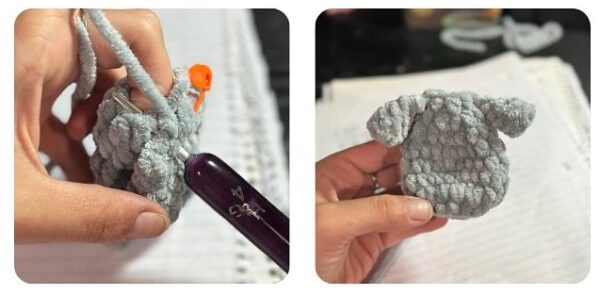
We will be crocheting the arms to the body in the next rnd. To do this, hold the arm on the outside of the body and line up the 2 sts on the arm with the next 2 sts on the body. Insert your hook through both the arm and the body and sc. Do this one more time in the next lined up stitches to finish attaching.
Due to different tensions, you may need to adjust your arm placement, make sure they’re lined evenly on the side and you do a total of 2 dec(s) for rnd 9.
Rnd 9: hdc-dec, 1 hdc, 2 sc through arm, 1 hdc, hdc-dec, 1 hdc, 2 sc through arm, 1 hdc (10)
Sl st, fasten off, leave a long tail for sewing the body to the head.
Do not stuff the body.
Head
Using grey yarn.
Rnd 1: ch 4, S2CFH – inc, 1 sc, inc – on opposite of ch – inc, 1 sc, inc (10)
Rnd 2: inc, 3 sc, 2 inc, 1 sc, 1 sl st, 1 sc, inc (14)
Rnd 3: inc, 5 sc, inc, 2 sc, 3 sl st, 2 sc (16)
Rnd 4: 16 sc (16)
In the following rnds, certain sets of sts are worked in the BLO and FLO. These sets will be written in bold font – all other sts in the rounds that are written in regular font are worked through both loops like normal.
Rnd 5: BLO: (dec, 2 sc) x 2, dec, dec, 2 sc, dec (11)
Rnd 6: 1 sc, FLO: 5 inc, 5 sc (16)
Rnd 7: FLO: 1 sc, (1 sc, inc) x 4, 2 sc, 5 sc (20)
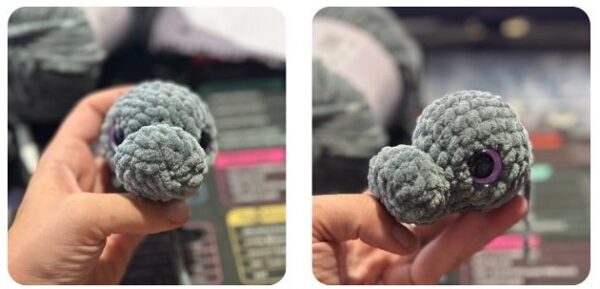
Go ahead and stuff the nose, keep the front flat and do not overstuff. Keep stuffing the head as you go.
Rnd 8: 2 inc, 12 sc, 2 inc, 4 sc (24)
Rnd 9-10: 24 sc (24) (2 rounds)
Rnd 11: 2 sc, dec, 14 sc, dec, 4 sc (22)
Rnd 12: 22 sc (22)
Add eyes between rnds 7-8, about 6-7 sts apart, or in line with the sides of the nose.
Rnd 13: 6 sc, 4 dec, 8 sc (18)
Rnd 14: dec x 9 (9)
Fasten off, leaving a tail to close the hole with. Finish stuffing and shaping the head, make sure to round out the back. The nose won’t look quite right until we do the face shaping on the next page. To close, thread your yarn tail through a needle, weave needle through the FLO of rnd 14 and gently pull to close the hole. Hide tails.
Face Shape
Using grey yarn.
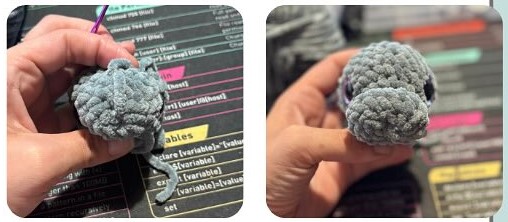
We are going to face shape upside down. Insert needle into the top of the nose, in between rnds 4-5 and exit out on the bottom of the nose, berween rnds 1-2. Leave a tail hanging from the top of the nose.
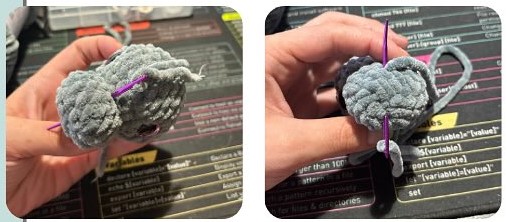
Insert needle into the middle of rnd 1 nad come back out of the same st in the bottom of the head.
Insert needle back into the same st in the middle of rnd 1 and out the original st you entered into on top of the nose. Grab both tails and gently but firmly pull to shape. Once happy, tie off ends and hide tails.
Teeth
Using white yarn.
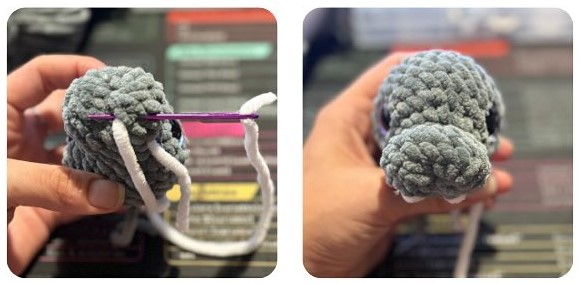
Embroider two teeth on either side of the face shape line, on rnd 2 and about 1 st wide.
Ears x2
Using grey yarn.
Right:
With the head facing you, insert hook between rnd 8-9, one st behind and above your eye.
[sl st, hdc, sl st]
Fasten off and hide tails.
Left:
With the head facing away from you, insert hook between rnds 8-9, one st begind and above your eye.
[sl st, hdc, sl st]
Fasten off and hide tails.
Assembly
- Sew the body to the bottom side of the head, between rnd 6-7 of the head, in line with the eyes. Thread meedle through both halves of the body and into the head and repeat until the head is secured to the body. Hide tails.
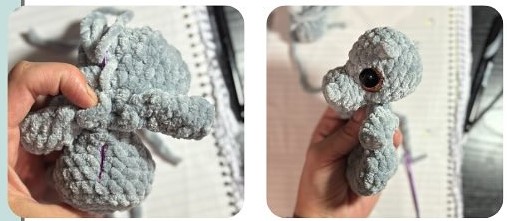
- Sew the bottom legs to either side of the body, on rnd 3-5. Use a whip stitch to sew on legs. Hide tails.