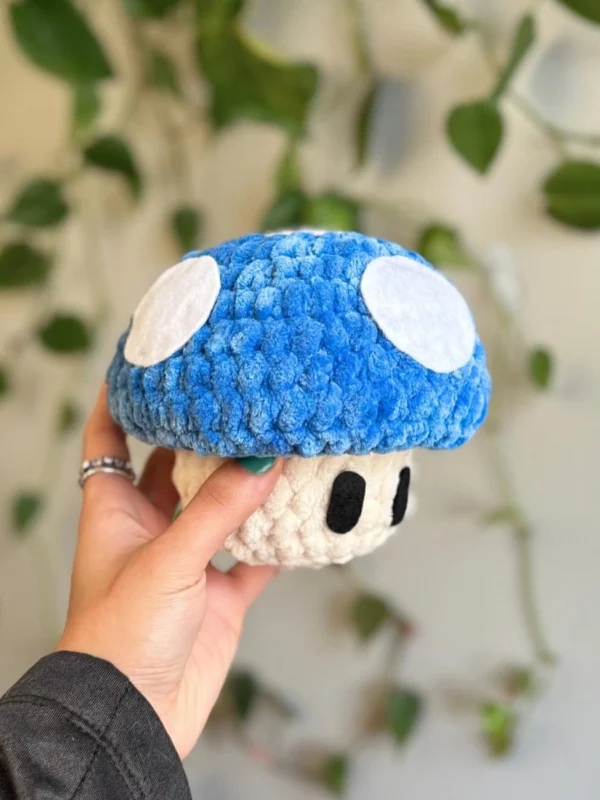
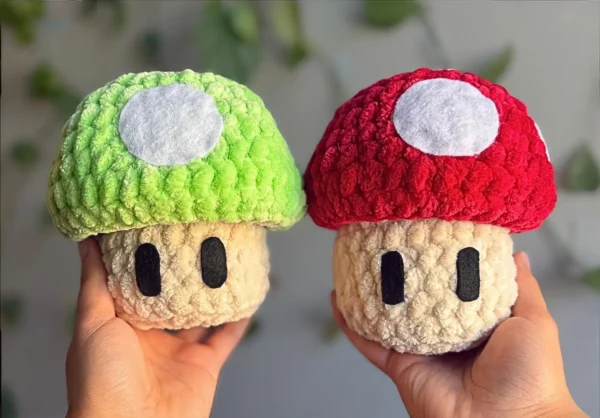
Bring a pop of fun to your collection with this crochet power mushroom! It’s inspired by the classic Super Mario series.
It’s made starting with making mushroom spots, felt eyes, then starting with a crochet piece with a mushroom cap and mushroom base, and then how to assemble all parts.
Materials needed are any yarn weight with a suitable hook, black and white felt, stuffing, a tapestry needle, and scissors.
This playful amigurumi is perfect for gamers, collectors, and lovers of cute handmade decor. It can be displayed on a shelf, and it can also be used as a fun gift.
You can customize this power mushroom by adding a cute smile to its face for a different look.
Designer: Crochet Hippy Designs
Materials
- Yarn – whatever you prefer in colors:
- Color A (mushroom top): red/green/purple/yellow/blue
- (Mushroom Base): Almond
- Color B (Spots): white/pink/red
- (Eyes): Black
- Black and white felt for the eyes/spots
- Crochet hook – personal preference
- Polyfill stuffing
- Darning needle
- Scissors
Abbreviations
Mr – magic ring
sc – single crochet
inc – increase
dec – decrease
* – repeat
c/c – color change
BLO – back loops only
sl st – slip stitch
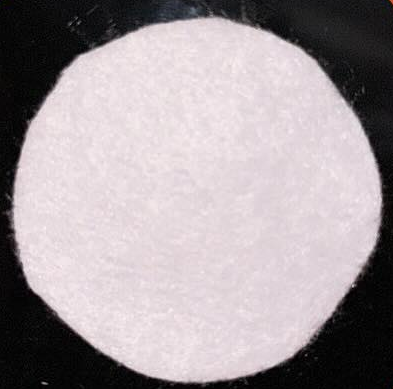
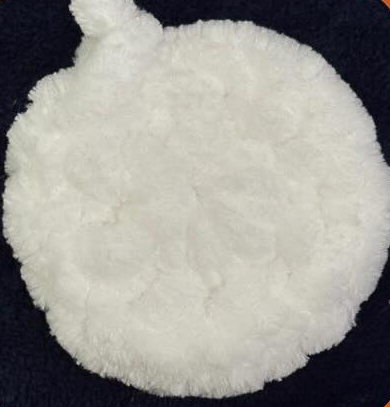
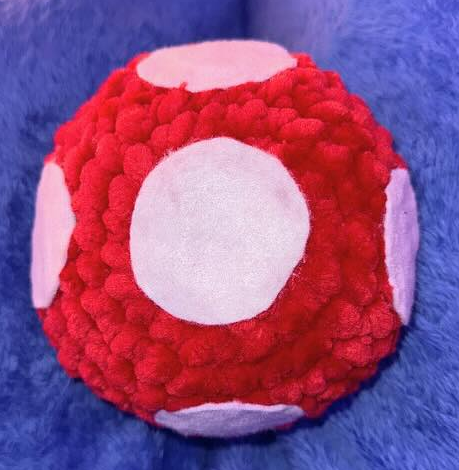
Mushroom Spots x5
There are two options for adding your spots for the mushroom top. You can either cut out white felt and glue it on or crochet the spots and sew them in individually.
Felt:
For the felt eyes, cut out 5 circular spots out of white felt. If you are still on the newer side of felt, cut a piece of cardboard as a base first and then use that piece to help stabilize your felt as you are cutting.
Crochet:
In white yarn.
Rnd 1: 8 sc in a Mr (8)
Rnd 2: *inc* (16)
Sl st two stitches past stitch marker and fasten off leaving a long tail to sew in.
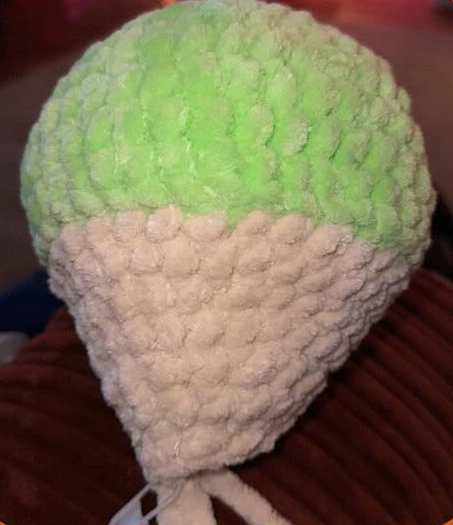
Mushroom Cap
Start in color A yarn.
Rnd 1: 8 sc in a Mr (8)
Rnd 2: *inc* (16)
Rnd 3: (1 sc, 1 inc) x 8 (24)
Rnd 4: (2 sc, 1 inc) x 8 (32)
Rnd 5: (3 sc, 1 inc) x 8 (40)
Rnd 6-10: *sc* (40) (5 rounds)
Color change to almond yarn.
Do not stuff the top of the mushroom head.
At this point, if you will be sewing the mushroom spots on, do so after finishing R10 before moving on to the base of the body. Sew 4 spots evenly apart from the mushroom cap in between R5-R8 and one directly on top of the mushroom cap. If you are using felt for the mushroom spots, you can glue those on now or at the end of the pattern.
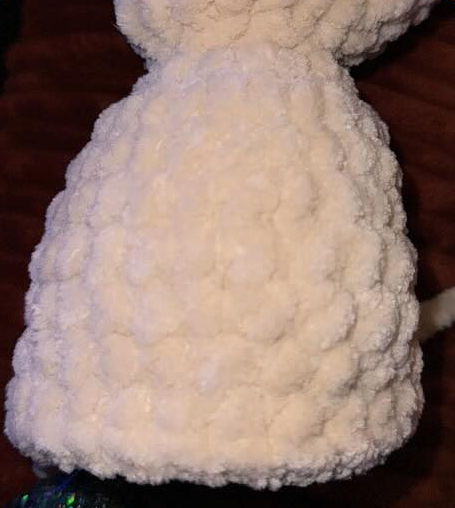
Mushroom Base
Using almond yarn.
Rnd 11: BLO: (3 sc, 1 dec) x 8 (32)
Rnd 12: *sc* (32)
Rnd 13: (2 sc, dec) x 8 (24)
Rnd 14: *sc* (24)
Rnd 15: (1 sc, 1 dec) x 8 (16)
Rnd 16: *sc* (16)
Rnd 17: *dec* (8)
Rnd 18: (3 sc per stitch) (24)
Rnd 19-25: *sc* (24) (7 rounds)
Rnd 26: BLO: (2 sc, dec) x 6 (18)
Rnd 27: dec x 9 (9)
Fasten off, leaving a tail to sew closed and hide the ends.
Stuff base of mushroom after R25. Ensure that you don’t overstuff to maintain a flat bottom.
Eyes x2
There are two options on how you can add eyes. You can either cut out black felt and glue them on or you can take a strand of black yarn and sew in to create an ovel shape.
Felt:
For the felt eyes – cut out 2 oval shaped eyes out of black felt. If you are still on the newer side of felt – cut a piece of cardboard as a base first and then use that piece to help stabilize your felt as you are cuttting.
Sewn:
Take a piece of black yarn and sew across roughly 2-3 stitches down the eye – repeat until desired thickness.
Placement:
Place eyes between R22-R24 and roughly 2-3 stitches apart.