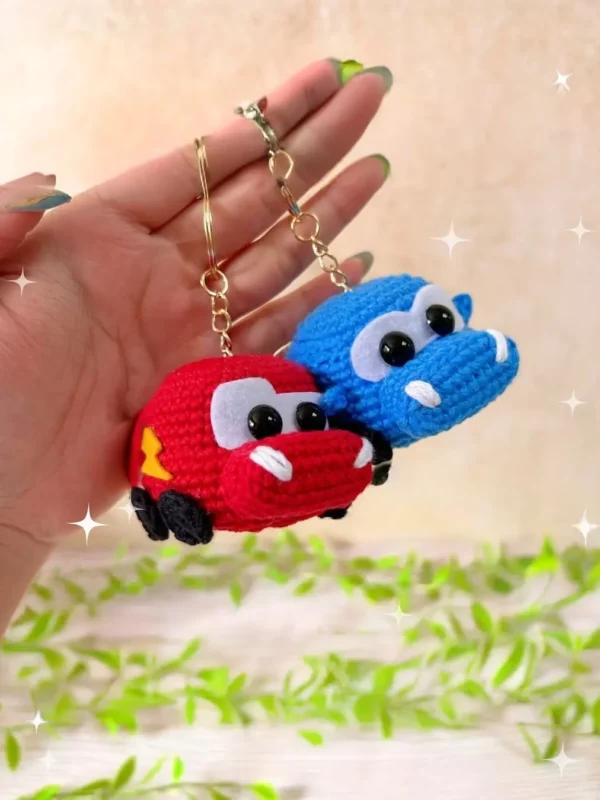
This crochet car pattern lets you create a fun, colorful vehicle that’s perfect for little hands to play with.
It’s crafted with any sport weight yarn with a 2 mm crochet hook, 10 mm safety eyes, stitch marker, glue, scissors, and felt in white and yellow.
It’s easy to make and can be customized in any color or any weight of yarn with a suitable hook to make different sizes of the toy; and it’s great for beginners and experienced crocheters.
It’s ideal as a handmade toy, nursery decoration, or unique gift for kids who love cars, a cute desk decoration for car lovers of all ages.
Designer: Studiogurumi
Materials
Mr – magic ring
ch – chain
sc – single crochet
sl st – slip stitch
hdc – half double crochet
dec – decrease
inc – increase
FLO – frony loops onl
Abbreviations
- 2 mm crochet hook
- 10 mm safety eyes
- Felt white and yellow
- Glue
- Stitch merkers
- Yarn in color: red, light blue, white and black
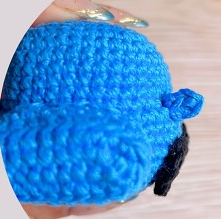
Body
Red/blue colors.
Rnd 1: 8 sc in a Mr (8)
Rnd 2: (inc around) x 8 (16)
Rnd 3: (2 inc, 2 sc) x 4 (24)
Rnd 4: 1 sc, 2 inc, (4 sc, 2 inc) x 3, 3 sc (32)
Rnd 5: 2 sc, 2 inc, (6 sc, 2 inc) x 3, 4 sc (40)
Rnd 6-11: sc around 6 rounds (40)
Rnd 12: FLO: 3 sc, 2 inc, (8 sc, 2 inc) x 3, 5 sc (48)
Rnd 13-17: sc around 5 rounds (48)
Rnd 18: 3 sc, 2 dec, (8 sc, 2 dec) x 3, 5 sc (40)
Rnd 19: 2 sc, 2 dec, (6 sc, 2 dec) x 3, 4 sc (32)
Stuff as you go.
Rnd 20: 1 sc, 2 dec, (4 sc, 2 dec) x 3, 3 sc (24)
Rnd 21: (2 dec, 2 sc) x 4 (16)
Rnd 22: 8 dec (8)
Fasten off and do not leave a long tail.
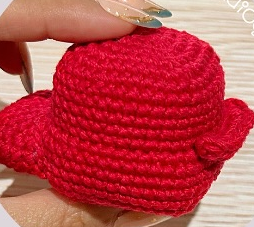
Front
Red/blue colors.
Rnd 1: 11 ch, in the second chain after the hook 9 sc, 1 inc, 9 sc (20)
Rnd 2: 1 inc, 8 sc, 2 inc, 8 sc, 1 inc (24)
Rnd 3: BLO: sc around 1 round (24)
Rnd 4-5: sc around 2 rounds (24)
Fasten off and leave a long tail for sewing.
Back
Red/blue colors.
Rnd 1: 11 ch, in the second chain after the hook 10 hdc
Fasten off and leave a long tail.
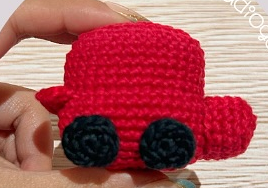
Wheels x4
Black color.
Rnd 1: 6 sc in a Mr (6)
Rnd 2: (1 inc, 1 sc) x 3 (9)
Fasten off and do not leave a long tail.
Assembly
- Lightly fill and sew the front part, just below where the line we made in FLO in marked.

- Sew the back, right where the line we made in FLO is markerd.
- Glue the wheels to the sides.
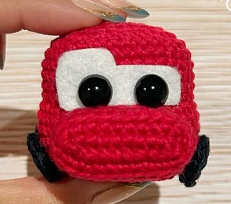
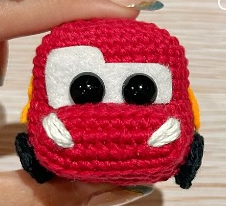
- With white felt make the shape of the eyes.
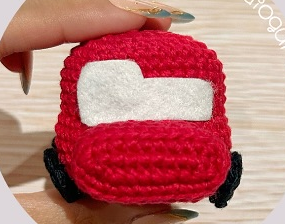
- Glue the eyes onto the felt.
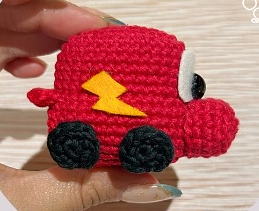
- Make a lighting bolt shape with felt and glue it to the sides.
- Embroider the lanterns in the corners with white.
- For Sally’s rearview mirrors, make 3 ch, starting from the second 2 sc and sew to the sides.