
Pokémon do revive nostalgic feelings in many of us; it’s soft, squishy, and ready for cuddles, cosplay props, or display on your Pokémon.
This tutorial is beginner-friendly, and it has clear steps to create the body, ears, tail, and head, which make this Pikachu easy and fast to finish.
Using basic crochet stitches like single crochet stitches, bobble stitches, and using some crochet techniques like increase and decrease, you can finish this toy easily.
Materials needed to finish this tutorial are size 6 yarn, 6 mm crochet hook, 14 mm safety eyes or beads, stuffing, sewing needle, and stitch markers.
Designer: Fairytale Crochet
Materials
- Size 6 yarn (Parfait Used)
- 6 mm crochet hook
- 14 mm safety eyes
- Yarn in yellow, black and red
- Sewing needle
- Fiberfill
- Stitch marker
Abbreviations
sc – single crochet
inc – increase
dec -decrease
sl st – slip stitch
Mr – magic ring
F/O – fasten off
BLO – back loops only
FLO – front loops only
BoB – booble stotch with 6 loops

Body
Starting in yellow.
Rnd 1: 8 sc in Mr (8)
Rnd 2: inc x 8 (16)
Rnd 3: (sc, inc) x 8 (24)
Rnd 4: 2 sc, Bob, 5 sc, Bob, 9 sc, Tail, 6 sc
Tail: chain 6, from 2nd chain turn and work down the chain, (sc, chain 2, sc back into same stitch), 2 sc, (chain 1, sl st back into same stitch), 2 scl st, and slip stitch into same stitch we initially chained from in round 4.
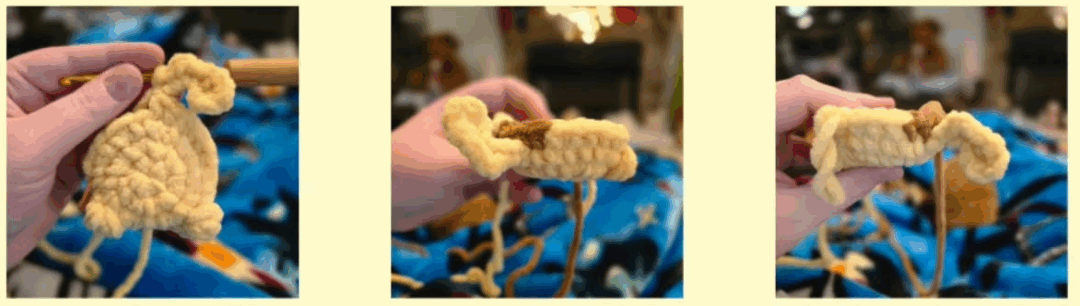
Its optinal to tack the tail this way more like pikachu, do this later whe have a yarn tail to do so.]
Work this round over the tail in the stitches on each side.
Orange text indicates color change to brown.
Rnd 5: 16 sc, 4 sc, 4 sc (24)
Rnd 6: 16 sc, in BLO (4 sc), 4 sc (24)
Rnd 7: 16 sc, 4 sc, 4 sc (24)
Rnd 8: 4 sc, Bob, 2 sc, Bob, 8 sc, in BLO (4 sc), 4 sc (24)
Rnd 9: 24 sc (24)
Stuff.
Rnd 10: dec x 12 (12)
Do not fasten off, we will continue to head.
Head
Red text indicates color change to red.
Rnd 11: inc x 12 (24)
Rnd 12: (2 sc, inc) x 8 (32)
Rnd 13: 3 sc, 2 sc, 6 sc, 2 sc, 19 sc (32)
Rnd 14-16: 32 sc (32)
Rnd 17: (2 sc, dec) x 8 (24)
Place eyes in rounds 14-15 about 4-5 stitches apart, just aboive the cheeks.
Stuff as you finish.
Rnd 18: (sc, dec) x 8 (16)
Rnd 19: dec x 8 (8)
F/O and close hole.
Ears x2
Start in black. Stuff lightly as you go.
Rnd 1: 4 sc in Mr (4)
Rnd 2: (sc, inc) x 2 (6)
Rnd 3-4: 6 sc (6)
Change to yellow.
Rnd 5: inc, 5 sc (7)
Rnd 6-8: 7 sc (7)
Stuff lightly, don’t overstuff tip of ear.
Rnd 9: dec, 5 sc (6)
F/O and leave a tail for sewing.
Sew ears onto rounds 17-18 on each side of the head.
