
Brighten up your space with this cheerful lemon pattern! This fun amigurumi food crochet project is quick, easy, and perfect for amigurumi beginners.
Stitches used in this tutorial are so simple and easy, like single crochet stitches, double crochet stitches, treble crochet stitches, half double crochet stitches, and some crochet techniques like increasing and decreasing.
You can customize this tutorial by using thicker/ thinner yarn with a suitable hook to it to make it bigger/ smaller.
It’s handmade with soft, high-quality yarn and playful details. This cute amigurumi adds a fresh and cozy touch to kitchens, shelves, or gift sets. It’s perfect as a décor accent or a part of a fruit-themed collection.
Designer: Twingurumi
Materials
- 2.5 mm crochet hook
- Cotton yarn – size 8/4, in the following colors:
- Yellow, Brown, Green
- Stitch markers
- Scissors markers
- Scissors
- Fiberfill
Abbreviations
Mr – magic ring
sc – single crochet
inc – increase
dec – decrease
sl st – slip stitch
ch – chain
hdc – half double crochet
dc – double crochet
tr – treble crochet
BLO – back loops only
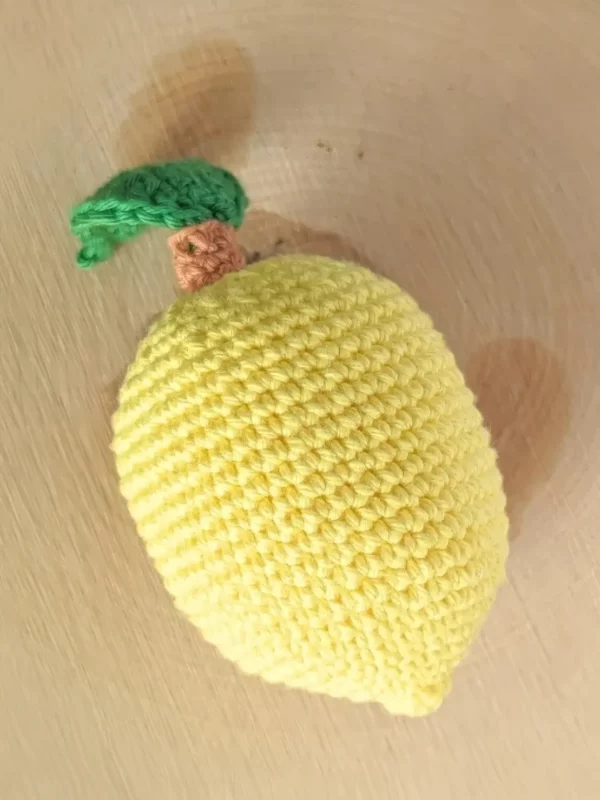
Lemon
Use yellow-colored yarn.
Rnd 1: 6 sc in a Mr (6)
Rnd 2: sc around (6)
Rnd 3: inc x 6 (12)
Rnd 4: (1 sc, inc) x 6 (18)
Rnd 5: sc around (18)
Rnd 6: (2 sc, inc) x 6 (24)
Rnd 7: (3 sc, inc) x 6 (30)
Rnd 8: (4 sc, inc) x 6 (36)
Rnd 9: (5 sc, inc) x 6 (42)
Rnd 10-22: sc around (42)
Rnd 23: (5 sc, dec) x 6 (36)
Rnd 24: (4 sc, dec) x 6 (30)
Rnd 25: (3 sc, dec) x 6 (24)
Start filling the lemon and add more filling as you go along.
Rnd 26: (2 sc, dec) x 6 (18)
Rnd 27: (1 sc, dec) x 6 (12)
Rnd 28: dec x 6 (6)
Fasten off, weave in the ends.
Stem
Use brown-colored yarn.
Rnd 1: 6 sc in a Mr (6)
Rnd 2: BLO: sc around (6)
Rnd 3: sc around (6)
Fasten off, leaving a long tail for sewing.
Leaf
Use green-colored yarn.
Rnd 1: ch 9, turn, starting from the 2nd chain from the hook, 7 sc, 3 sc in the last chain, 7 sc (17)
Rnd 2: continue with the 1 st sc of R1: ch 1, 2 dc, 3 tr, 2 dc, 2 hdc, ch 3, sl st into the 1st chain, 1 hdc, 2 dc, 3 tr, 1 dc, ‘ch 1, sl st’)’ into the last stitch
Assembly
- Sew the leaff onto the R1 of the stem.
- Sew the stem onto R28 of the lemon.
